Unlock Your Pi: Remote Access Raspberry Pi Outside Network
Imagine you're miles away from home, perhaps on vacation or managing a server, and suddenly, you need to access your home network or a specific device. For many, this sounds like a daunting technical challenge. However, if you're a Raspberry Pi enthusiast, you're in luck! This guide will walk you through everything you need to know to seamlessly access your Raspberry Pi outside your network, transforming it into a truly versatile remote workstation. Learn how to connect to your Raspberry Pi from outside your network and unlock remote access and control, opening up a world of possibilities for your projects and daily tasks.
The ability to remotely control your Raspberry Pi from any device connected to the internet is a game-changer. Whether you’re checking on a home security system powered by a Raspberry Pi, troubleshooting an issue on a server, or simply accessing files, remote access is invaluable. With a Raspberry Pi, this is no problem, and it's not that hard to set up. We'll explore various secure and reliable methods, ensuring you can connect to your Pi from anywhere in the world.
Table of Contents
- Why Access Your Raspberry Pi Remotely?
- Understanding the Core Concepts for Remote Access
- Method 1: Exposing Services Directly (SSH and VNC)
- Method 2: The VPN Approach for Enhanced Security
- Method 3: Cloud Services for Simplified Access
- Raspberry Pi Connect: A Native Solution
- Real-World Applications: NAS and CCTV
- Troubleshooting Common Issues
- Conclusion: Unlocking Your Pi's Full Potential
Why Access Your Raspberry Pi Remotely?
The core benefits of a remote Raspberry Pi are numerous, and understanding them helps reveal why it's worth the effort to enable remote access. Why access Raspberry Pi outside your network? The reasons are as diverse as the projects you can build with this tiny computer. Imagine you're on vacation, but you want to check on your home security system powered by a Raspberry Pi. Or maybe you’re managing a server and need to troubleshoot an issue while you’re away from your office. Perhaps you've set up a home automation system and need to make a quick adjustment. These scenarios highlight the critical need for remote access. With the right tools and knowledge, you can seamlessly connect to your Raspberry Pi from anywhere in the world. Whether you’re accessing it from a mobile phone, connecting from a computer, or granting others access to your Pi from outside your network, the possibilities for exploring and experimenting with various Internet of Things (IoT) projects using the Pi become limitless. Take your Raspberry Pi anywhere, virtually speaking, and maintain full control.Understanding the Core Concepts for Remote Access
Before diving into specific configuration procedures to enable remote access to a Raspberry Pi, it's crucial to grasp a few fundamental networking concepts. These form the bedrock of how you will successfully access your Raspberry Pi outside your local network.Static IP Address
When your Raspberry Pi connects to your local network, it typically receives an IP address dynamically from your router (DHCP). This address can change over time, which is problematic for remote access because you need a consistent address to connect to. To ensure reliable access, you need to assign a static IP address to your Raspberry Pi within your local network. For instance, you might connect your Raspberry Pi to your local network using Wi-Fi, and then define a static IP address for it, such as `192.168.0.7` or `192.168.1.100`. This can often be accomplished in your router settings by matching the Pi's MAC address to a specific IP. For others whose routers don't have that option, you might need to configure it directly on the Raspberry Pi itself, though the router method is generally preferred for ease of management. This ensures that your Pi always has the same internal address, making it discoverable for port forwarding.Port Forwarding: The Gateway to Your Pi
To access your Raspberry Pi from outside your local network, you'll need to set up port forwarding on your router. Your router acts as a firewall, protecting your internal network from the vastness of the internet. When you try to connect to your Pi from an external network, your router doesn't know where to send that incoming connection unless you tell it. Port forwarding is that instruction. Here is what you need to do to remote access Raspberry Pi from outside your local network using port forwarding:- Access your router’s admin panel: Open a web browser on a device connected to your local network and enter your router’s IP address (often `192.168.0.1`, `192.168.1.1`, or `192.168.1.254`). You'll need your router's username and password.
- Locate the ‘Port Forwarding’ section: This section might be under "NAT," "Virtual Servers," "Firewall," or "Advanced Settings," depending on your router's make and model.
- Create a new port forwarding rule: You will specify an external port (the port you connect to from outside) and an internal port (the port your service on the Pi uses, e.g., 22 for SSH, 3389 for RDP, 5900 for VNC). You'll also need to specify the static internal IP address of your Raspberry Pi. For example, if you want to expose SSH, you might forward external port `2223` TCP to internal IP `192.168.1.100` on internal port `22`.
Method 1: Exposing Services Directly (SSH and VNC)
One of the most straightforward ways to remotely control your Raspberry Pi from any device connected to the internet is to expose SSH or VNC over the open internet. This method involves directly forwarding ports on your router to your Raspberry Pi.SSH for Secure Shell Access
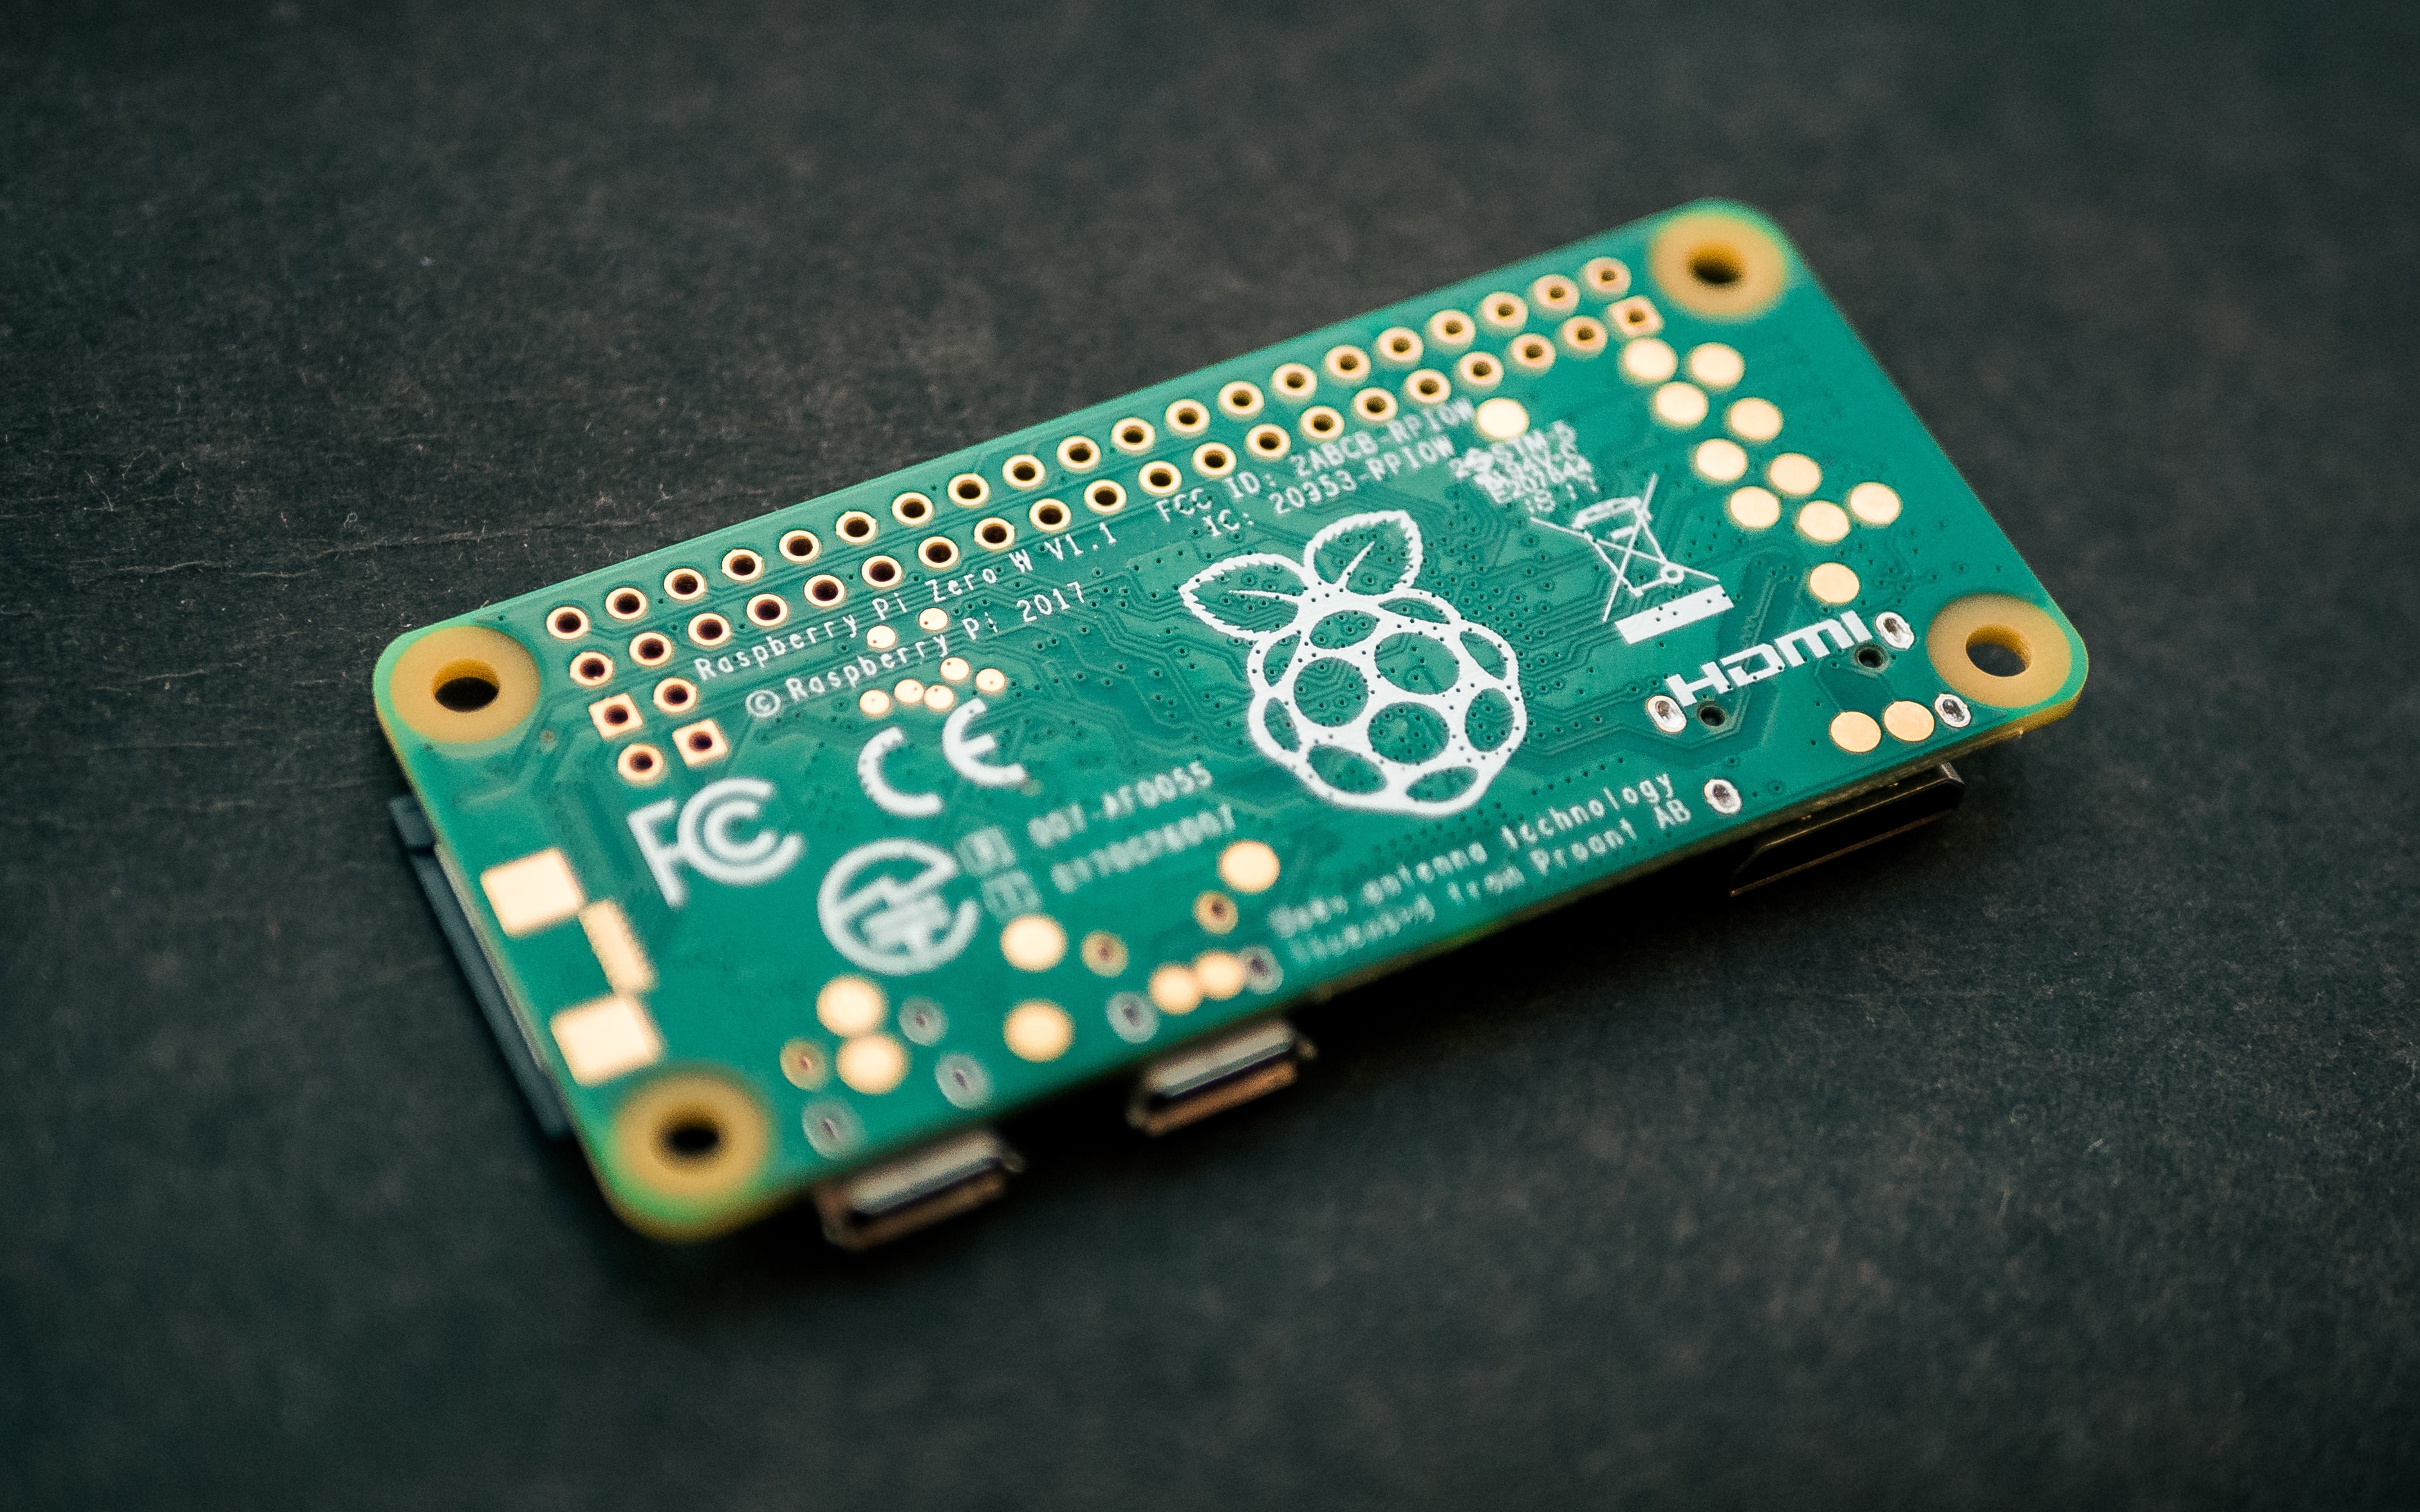
Secure Shell (SSH) is a protocol that allows you to securely access your Raspberry Pi from anywhere, transforming it into a versatile remote workstation. SSH (Secure Shell) is a secure protocol that allows you to connect to a remote computer and control it as if you were sitting right in front of it. If you want to access your Raspberry Pi from outside your network, you’ll definitely need to set up SSH. **Steps to set up SSH:**- Enable SSH on your Raspberry Pi: By default, SSH might be disabled on newer Raspberry Pi OS versions. You can enable it via `raspi-config` (`sudo raspi-config` -> Interface Options -> SSH -> Yes) or by creating an empty file named `ssh` (no extension) in the boot partition of your SD card.
- Configure SSH Daemon (Optional but Recommended): For enhanced security, you can change the default SSH port (22) to a non-standard port. For example, you might configure the `sshd` daemon on port `2223` by modifying the file `/etc/ssh/sshd_config`. Change `Port 22` to `Port 2223` and restart the SSH service (`sudo systemctl restart ssh`).
- Set up Port Forwarding on your router: As mentioned in the previous section, forward the chosen external port (e.g., `2223` TCP) to the static IP of your Pi on its internal SSH port (e.g., `22` or `2223` if you changed it).
- Connect from outside: From your remote computer, use an SSH client (like PuTTY on Windows, or `ssh` command on Linux/macOS). You'll connect using your public IP address and the forwarded port: `ssh username@your_public_ip -p 2223`.
VNC for Graphical Interface
While SSH provides a command-line interface, VNC (Virtual Network Computing) allows you to access your Raspberry Pi's graphical desktop environment remotely. **Steps to set up VNC:**- Install VNC Server on your Raspberry Pi: `sudo apt update && sudo apt install realvnc-vnc-server` (or `tightvncserver` for a lighter alternative).
- Enable VNC Server: Similar to SSH, you might need to enable it via `raspi-config` (Interface Options -> VNC -> Yes).
- Set up Port Forwarding on your router: VNC typically uses port `5900`. You would forward an external port (e.g., `5901`) to your Pi's static IP on internal port `5900`.
- Connect from outside: Use a VNC client (like RealVNC Viewer) on your remote device, connecting to `your_public_ip:5901`.
Method 2: The VPN Approach for Enhanced Security
If you don't want to open a remote display port on your public interface, which is a very understandable security concern, you may set up a VPN (Virtual Private Network) on your Pi. This is often considered the most secure way to access your Raspberry Pi outside your network. A VPN creates an encrypted tunnel between your remote device and your home network, making it seem as if your remote device is physically present on your local network. **Why use a VPN?** * **Enhanced Security:** All traffic between your remote device and your Pi is encrypted, protecting it from eavesdropping. * **Access to All Local Devices:** Once connected to the VPN, you can access any device on your local network, not just your Pi. This means you can access your Pi's `3389` port (if you set up RDP), or any other service, securely. * **Reduced Port Exposure:** You only need to open one port on your router for the VPN server (e.g., `1194` by default for OpenVPN), rather than multiple ports for individual services like SSH, VNC, or a NAS. **Setting up a VPN on your Raspberry Pi (e.g., OpenVPN):** 1. **Install OpenVPN Server:** `sudo apt install openvpn easy-rsa`. 2. **Configure Easy-RSA:** This tool helps you create the necessary certificates and keys for your VPN server and clients. Follow a reliable guide (e.g., from PiVPN or official OpenVPN documentation) to generate your Certificate Authority (CA), server certificate, and client certificates. 3. **Configure OpenVPN Server:** Edit the OpenVPN server configuration file (`/etc/openvpn/server.conf`). This file specifies network settings, encryption details, and where to find your certificates. 4. **Set up Port Forwarding:** You will need to open a port anyway, typically `1194` UDP by default for OpenVPN. Forward this port on your router to your Raspberry Pi's static IP address. 5. **Configure Firewall (optional but recommended):** Ensure your Pi's firewall (e.g., UFW) allows incoming connections on the OpenVPN port. 6. **Generate Client Configurations:** For each device you want to connect from, generate a client configuration file (`.ovpn`). Transfer this file to your remote device. 7. **Install OpenVPN Client:** On your remote device (laptop, phone), install an OpenVPN client and import the `.ovpn` file. 8. **Connect:** Once connected to the VPN, your remote device will receive an IP address from your Pi's VPN server, placing it virtually within your home network. You can then access your Pi via its local static IP (e.g., `192.168.0.7`) using SSH, VNC, or any other service, without needing additional port forwards. This gives you a secure remote access to your local network, which means to your Pi:3389 port, or any other port. While setting up a VPN might seem more complex initially, the long-term security benefits and flexibility it offers for accessing your Raspberry Pi outside your network are significant.Method 3: Cloud Services for Simplified Access
For those who prefer a simpler, less technical approach, or who are uncomfortable with direct port forwarding and VPN setups, external cloud services offer a convenient alternative. These services typically handle the networking complexities for you, allowing you to connect to your Pi through their secure servers. One popular example is RealVNC’s Cloud VNC Viewer. Instead of directly forwarding ports, your Raspberry Pi connects outbound to the RealVNC cloud service, and your remote device also connects to the same service. The service then acts as a relay, establishing a secure connection between your devices. **Benefits of Cloud Services:** * **Ease of Setup:** Often involves installing a client on your Pi and creating an account with the service. No router configuration is usually required. * **Firewall Friendly:** Works even if your router uses Carrier-Grade NAT (CGNAT), which prevents traditional port forwarding. * **Enhanced Security:** Connections are typically encrypted and managed by the service provider, reducing the risk of direct exposure. * **Cross-Platform Clients:** Most services offer clients for various operating systems and mobile devices. While highly convenient, be mindful of the privacy implications and potential costs associated with third-party services. Always choose reputable providers.Raspberry Pi Connect: A Native Solution
In a move to further simplify remote access, Raspberry Pi Ltd. has introduced Raspberry Pi Connect, a free screen sharing and remote shell service provided by Raspberry Pi. This service is designed to offer a seamless and secure way to access your Raspberry Pi from anywhere, without the need for complex network configurations like port forwarding or dynamic DNS. Raspberry Pi Connect works similarly to cloud services but is developed and maintained by the Raspberry Pi foundation itself, offering a more integrated experience. It establishes a secure, encrypted connection between your remote device and your Raspberry Pi through Raspberry Pi's own servers. **Key Features and Benefits:** * **Native Integration:** Designed specifically for Raspberry Pi OS, ensuring optimal performance and compatibility. * **No Port Forwarding Required:** Bypasses the need for router configuration, making it ideal for beginners or those with restrictive network setups (like CGNAT). * **Secure Connection:** All communication is encrypted, providing a safe channel for remote control and data transfer. * **Screen Sharing and Remote Shell:** Offers both a graphical desktop experience (like VNC) and a command-line interface (like SSH), catering to different user needs. * **Free to Use:** As a service provided by Raspberry Pi, it's a cost-effective solution. To use Raspberry Pi Connect, you typically install the necessary package on your Pi and then sign in with your Raspberry Pi ID. From a remote device, you'd then use a web browser or a dedicated client to connect to your Pi via the Raspberry Pi Connect portal. This is an excellent option for anyone looking for a user-friendly and officially supported method to access their Raspberry Pi outside their network.Real-World Applications: NAS and CCTV
The ability to access your Raspberry Pi outside your network opens up a plethora of practical applications. Two prominent examples often discussed by users are setting up a Network Attached Storage (NAS) server and a rudimentary CCTV system. **Setting up a NAS Server with Raspberry Pi:** A common question from users is how to set up a NAS drive and access it whilst not at home. In this article, we will show you how to set up a NAS server with a Raspberry Pi and access it from outside the network. Only two components are needed: a Raspberry Pi (3B+ or 4 are recommended for better performance) and an external hard drive (preferably an SSD for speed and reliability). Once your NAS is set up locally (e.g., using Samba or NFS), you'll need a method to access it remotely. This is where the techniques discussed earlier come into play: * **VPN:** The most secure and recommended method. Once connected to your Pi's VPN, your remote device is effectively on your home network, allowing you to access the NAS shares directly as if you were home. You can then access files from Windows 7 and Windows 10 (soon W7 will upgrade to W10). * **Port Forwarding (less secure):** You could forward the specific ports for your NAS service (e.g., SMB/CIFS ports 139 and 445), but this is generally discouraged due to security risks. **Building a Rudimentary CCTV System:** Another user might plan on making some rudimentary CCTV system and playing about with sensor modules. They might wonder how they would connect all these to a central Pi hub and then also how they would be able to access it whilst not at home. For a CCTV system, your Raspberry Pi could act as the central hub, processing video feeds from cameras (e.g., USB webcams or Raspberry Pi Camera Modules). The recorded footage might be stored on the NAS drive you set up. To access this system remotely: * **VPN:** Again, the most secure option. Connect to your VPN, and then you can access the video streams or recorded footage directly from your remote device. * **Dedicated CCTV Software with Remote Access:** Some CCTV software solutions for Raspberry Pi (like MotionEyeOS) offer built-in web interfaces that can be exposed via port forwarding (again, with security caveats) or accessed securely through a VPN. * **Cloud Services:** Some camera solutions integrate with cloud services, offloading the remote access complexity. These applications demonstrate the power and flexibility of being able to access your Raspberry Pi outside your network. They transform your small, inexpensive computer into a powerful server for various home and personal projects.Troubleshooting Common Issues
Even with the best intentions and clear instructions, you might encounter hurdles when trying to access your Raspberry Pi outside your network. Here are some common problems and their solutions: 1. **"Nothing works as soon as PC is connected to different network."** * **Problem:** This is the classic symptom of not having proper port forwarding or a VPN set up. You can connect locally, but not externally. * **Solution:** Double-check your static IP address on the Pi, ensure port forwarding rules are correctly configured on your router (external port, internal port, internal IP), and verify that your public IP address hasn't changed if you don't use dynamic DNS. 2. **Incorrect Static IP Configuration:** * **Problem:** Your Pi's IP address changes, or it's not the one you forwarded ports to. * **Solution:** Ensure your Pi has a truly static IP within your local network. You can set this in your router's DHCP reservation settings (by matching the Pi's MAC address) or by configuring `/etc/dhcpcd.conf` on the Pi itself. A user noted: "I have connected the raspberry pi to my local network using a wifi, the pi has static ip address at 192.168.0.7 (i was able to accomplish this in my router settings by matching pi's the mac address, for others, who's routers don't have that option this might be useful)". This is the most reliable method. 3. **Firewall Blocking Connections:** * **Problem:** Your router's firewall or your Pi's internal firewall (e.g., `ufw` or `iptables`) is blocking incoming connections on the forwarded port. * **Solution:** Check your router's firewall settings to ensure it's not overriding your port forwarding rules. On your Pi, if you have a firewall enabled, make sure it allows incoming traffic on the port you're using (e.g., `sudo ufw allow 2223/tcp`). 4. **Dynamic Public IP Address:** * **Problem:** Your ISP assigns you a dynamic public IP address that changes periodically, breaking your remote access link. * **Solution:** Use a Dynamic DNS (DDNS) service (e.g., No-IP, DuckDNS, Dynu). These services provide a consistent hostname (e.g., `myrpi.ddns.net`) that automatically updates to your current public IP address. You configure your router or your Pi to update the DDNS service whenever your public IP changes. Then, you connect using the hostname instead of the IP. 5. **ISP Blocking Ports:** * **Problem:** Some ISPs block common ports (like 80, 22, 23) for residential connections. * **Solution:** Use non-standard ports for your services (e.g., `2223` for SSH instead of `22`). This is a good security practice anyway. 6. **Incorrect Port Forwarding Rules:** * **Problem:** Mismatched external/internal ports, wrong protocol (TCP/UDP), or incorrect internal IP. * **Solution:** Carefully re-enter your port forwarding rules, paying close attention to every detail. Test with a port checker tool online to see if your external port is open. 7. **"This is my first time with the raspberry pi and i am having big problems with the
How To Remote Access Raspberry Pi From Outside Network - Upswift.io

Connecting to Raspberry Pi From Outside Network: A Complete Guide
Accessing Raspberry Pi SSH and VNC From Outside of the Local Network
