Securely Access Your Raspberry Pi Remotely With A VPN
Unlocking the full potential of your Raspberry Pi often means being able to control it from anywhere, whether you're across the room or across the globe. The ability to access Raspberry Pi remotely via VPN is not just a convenience; it's a fundamental requirement for many projects, from smart home automation to remote IoT deployments.
Imagine being able to check on your home server, update a remote sensor, or even troubleshoot a customer's industrial control system without physically being there. This guide will provide you with everything you need to know to set up and manage remote access securely. By the end of this tutorial, you’ll have a solid understanding of the tools, methods, and best practices for remote access, empowering you to truly leverage the small but mighty Raspberry Pi for any remote project.
Table of Contents
- Why Remote Access to Your Raspberry Pi is Essential
- Understanding Raspberry Pi Remote Access Requirements
- Traditional Remote Access Methods (and their limitations)
- The Power of VPNs for Secure Raspberry Pi Remote Access
- Setting Up a VPN Server on Your Raspberry Pi
- Simplified Remote Access Solutions (Beyond Self-Hosted VPNs)
- Overcoming Challenges: Pi as a VPN Client & Remote Access
- Best Practices for Secure Remote Access to Your Raspberry Pi
Why Remote Access to Your Raspberry Pi is Essential
The Raspberry Pi, with its remarkably small footprint and low energy demands, is truly ideal for remote deployment. Whether it's tucked away in a server closet, monitoring an outdoor sensor, or acting as a central hub for a smart home, the need to access Raspberry Pi remotely is a common user request. This versatility makes it a go-to device for a myriad of projects, particularly in the realm of the Internet of Things (IoT). Imagine a scenario where you have a web server (HMI) running on a Raspberry Pi at a customer's site, connected directly to a Programmable Logic Controller (PLC). Your customer can view and control the PLC locally, but what happens when you need to provide remote support or perform diagnostics from off-site? This is where the ability to access Raspberry Pi remotely becomes not just convenient, but absolutely critical. It allows for seamless maintenance, updates, and troubleshooting without requiring a physical presence, saving time and resources. Let’s dive in and explore how to remotely access Raspberry Pi for remote IoT projects and beyond.Understanding Raspberry Pi Remote Access Requirements
Before we delve into the exciting world of remote access, it’s crucial to understand the foundational requirements. Luckily, we won’t need much hardware to achieve our goal because the solutions we’ll discuss today mainly require remote desktop software or specialized tunneling applications. Here's what you'll need:- A Raspberry Pi with Internet Access: This is non-negotiable. Your Pi needs to be connected to the internet, typically through a router. An ethernet connection is highly recommended for speed and stability, though Wi-Fi can work if your signal is strong and reliable. This document assumes you connect the Raspberry Pi to a private network with internet access through a router.
- Initial Setup: For the very first boot, you'll need to insert an SD card with the system image into the Raspberry Pi, connect a display to HDMI, and plug a mouse and keyboard into the USB ports. Once powered on and configured for network access, you can often remove these peripherals for headless operation.
- A Remote Computer/Device: This could be your laptop, desktop PC, tablet, or even a smartphone. This device will be used to establish the connection to your Raspberry Pi.
- Software: Depending on the method, you'll need various remote desktop software, SSH clients, or VPN client applications.
- Network Security: We strongly recommend using a firewall with your network setup to enhance security and protect your Raspberry Pi from unauthorized access attempts.
Traditional Remote Access Methods (and their limitations)
There are many different solutions for remote access to Raspberry Pi, and the most common is to use one of two techniques: direct protocol connections or VPNs. The methods covered so far provide standard ways to remotely connect to your Raspberry Pi using open protocols like SSH, VNC, and RDP.- SSH (Secure Shell): This is the command-line interface for your Raspberry Pi. It's incredibly powerful for managing files, running commands, and performing system updates. For instance, to copy a file named `myfile.txt` from your personal computer to a user’s home folder on your Raspberry Pi, you would run the following command from the directory containing `myfile.txt`:
Replace `scp myfile.txt <username>@<pi_ip_address>:~/` with the username you use to log in to your Raspberry Pi and ` ` with your Raspberry Pi’s IP address. SSH is encrypted, making it secure for command-line operations. - VNC (Virtual Network Computing) / RDP (Remote Desktop Protocol): These protocols allow you to access the graphical desktop environment of your Raspberry Pi, giving you a visual interface similar to sitting directly in front of it. This is useful for tasks that require a GUI, such as browsing the web on the Pi or using specific applications.
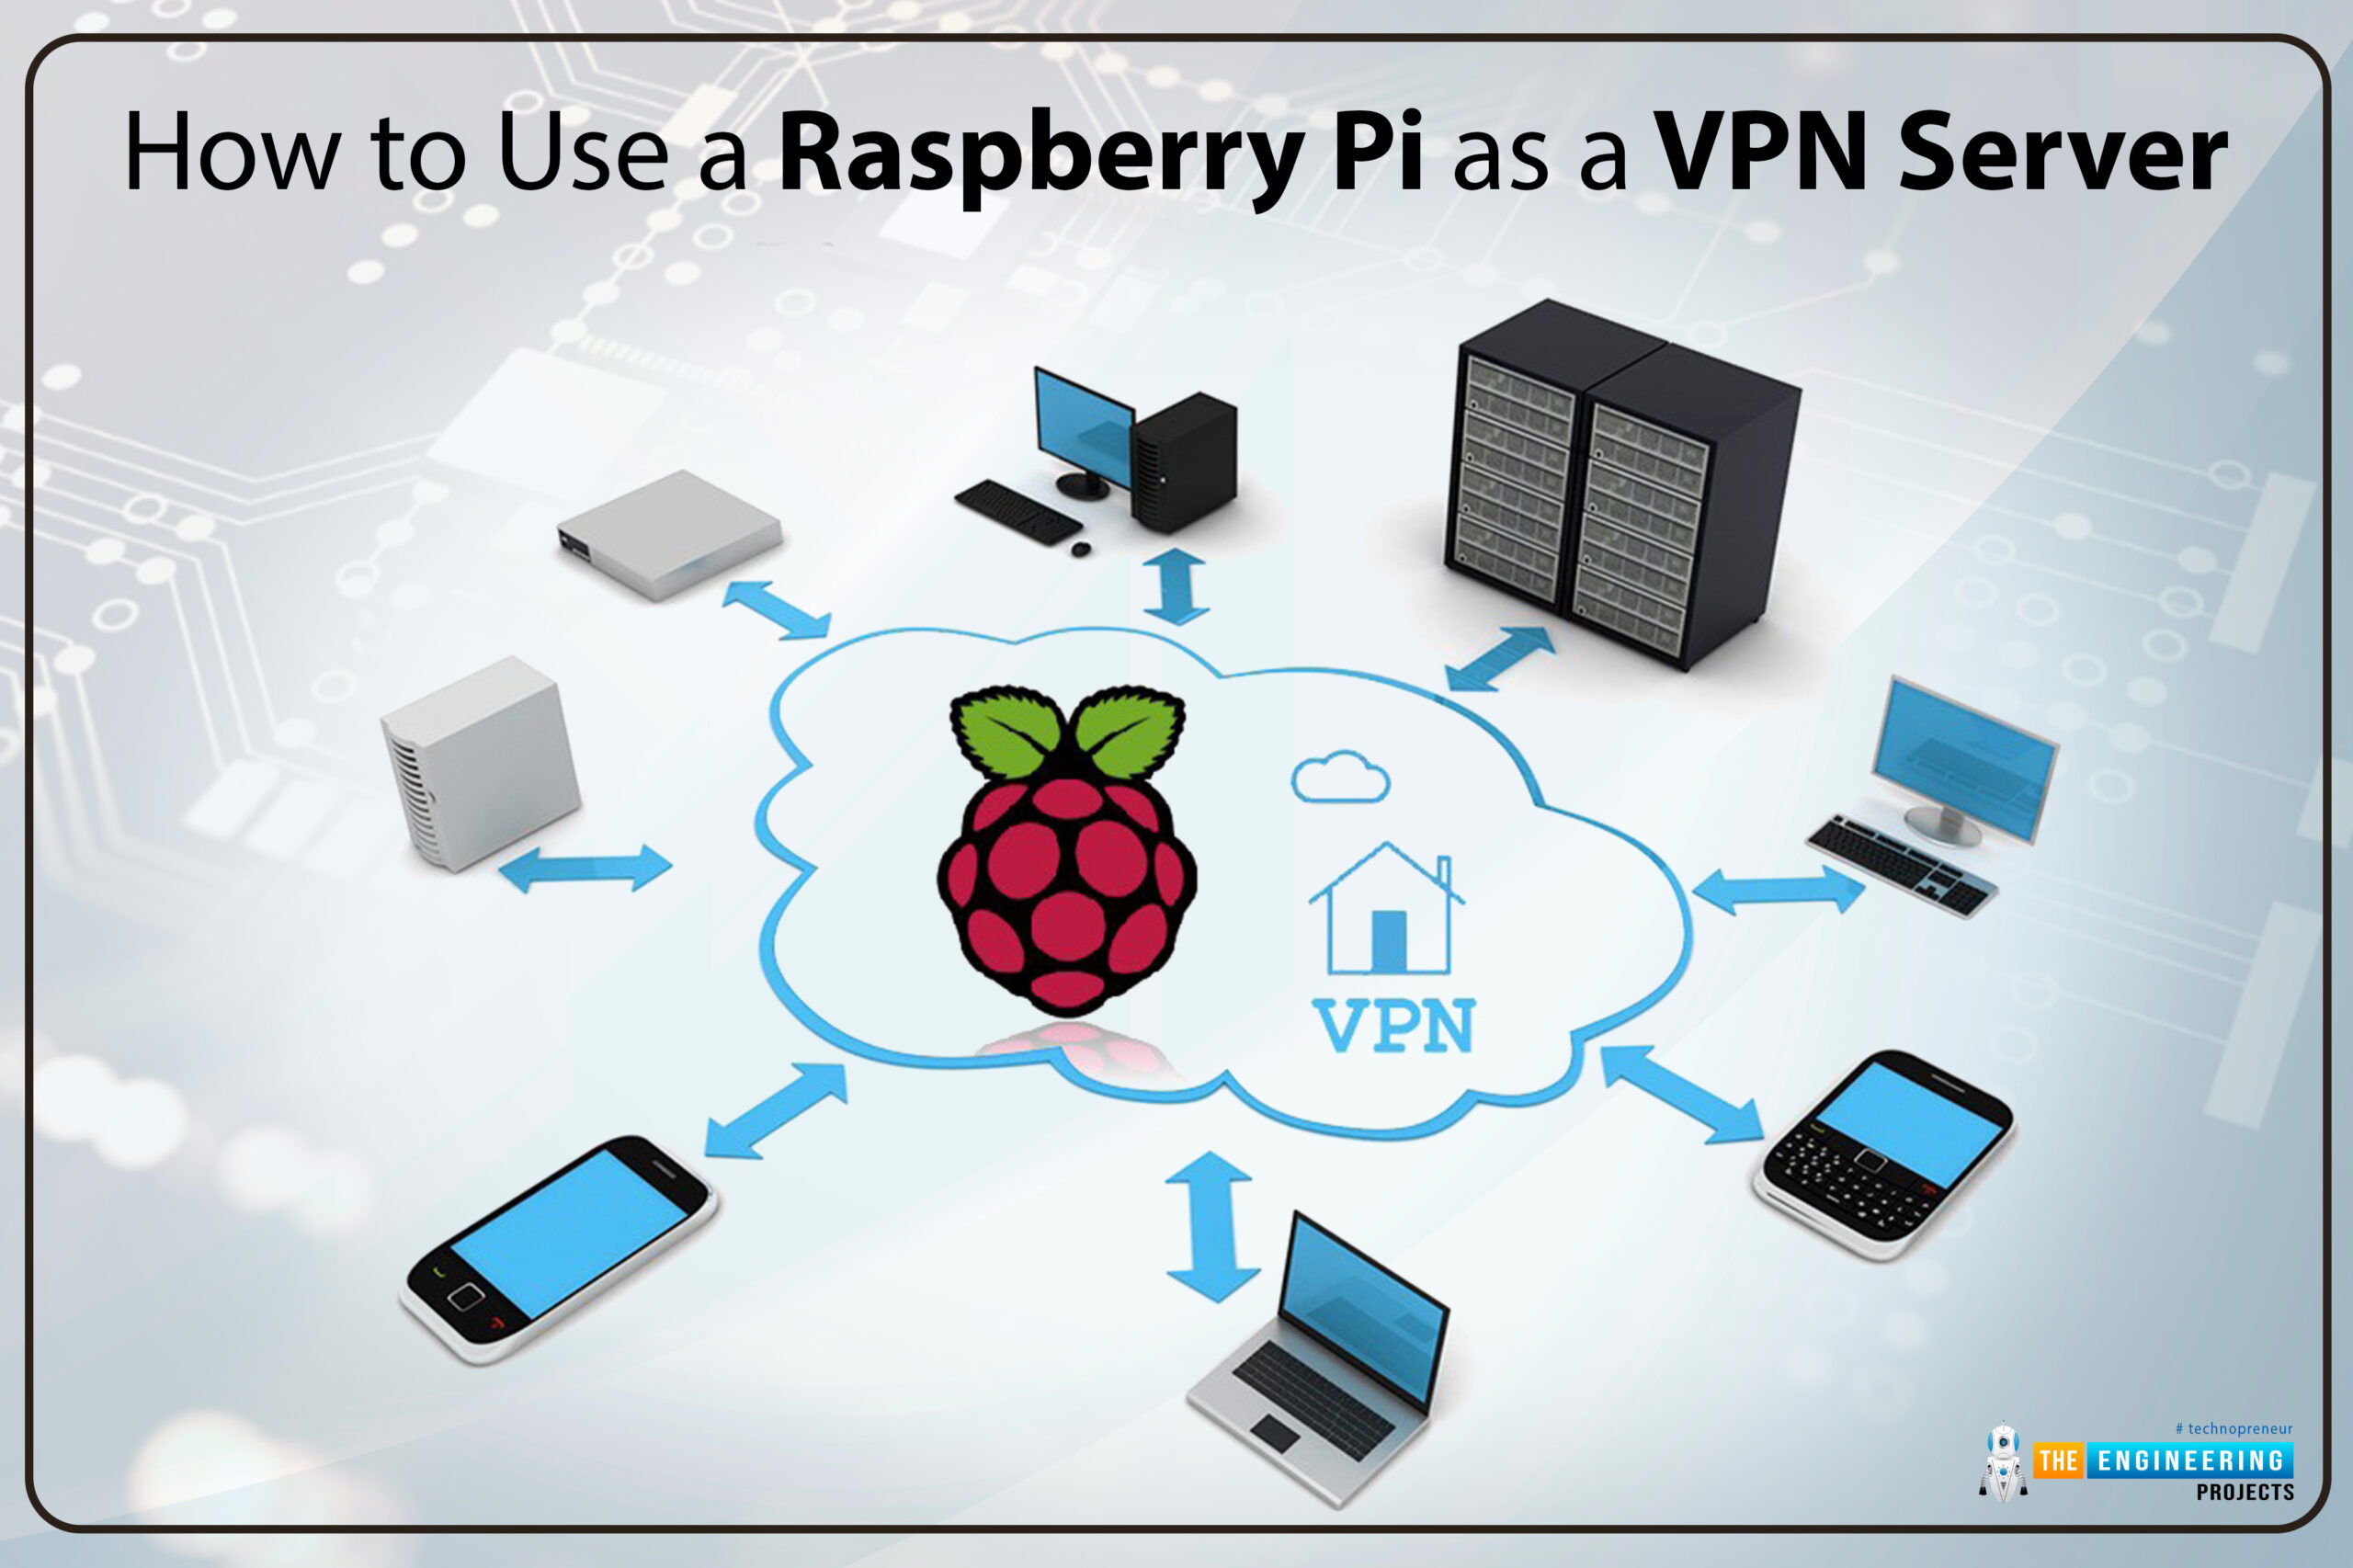
The Power of VPNs for Secure Raspberry Pi Remote Access
This is where the magic happens for truly secure and flexible remote access: Virtual Private Networks (VPNs). Instead of exposing your Raspberry Pi directly to the internet through port forwarding, a VPN creates an encrypted "tunnel" between your remote device and your home network (where your Pi resides). This tunnel ensures that all data transmitted is secure and private, as if your remote device were physically connected to your home network. The key principle when using a VPN for remote access is simple: access the VPN from your remote computer first, then connect to your Pi through the tunnel. This means your remote device connects to the VPN server (which can be your Raspberry Pi itself, or another device on your network), and once that secure connection is established, your remote device is virtually "inside" your home network. From there, you can use SSH, VNC, or RDP to connect to your Raspberry Pi using its local IP address, without any need for dangerous port forwarding. It's important to understand a nuance: an access server (the VPN server) can function entirely within an environment without internet access for internal network connections. However, VPN clients cannot connect over the internet without such access. So, while your Pi might be serving VPN connections to devices on your local network without an internet uplink, for you to connect from outside your home, both your remote client and the VPN server (or the network it's on) need internet connectivity. This method significantly enhances security and simplifies network configuration, making it the preferred approach for many.Setting Up a VPN Server on Your Raspberry Pi
Transforming your Raspberry Pi into a personal VPN server is one of the most powerful ways to secure your remote access. It allows you to create your own private, encrypted tunnel back to your home network from anywhere in the world. This is particularly useful for those who want to VPN into their network from not secure remote locations and safely use the internet, protecting their browsing and ensuring secure access to their home devices. There are several excellent VPN protocols and software options available, each with its own strengths. Let's explore some popular choices for your Raspberry Pi.PiVPN: A Popular Choice for Home Networks
PiVPN is a script that simplifies the process of setting up a VPN server on your Raspberry Pi, making it incredibly easy for even beginners. It supports both OpenVPN and WireGuard protocols, offering flexibility depending on your preference for speed versus compatibility. We recommend running PiVPN on the latest Raspberry Pi OS Lite image in a Raspberry Pi at your home. This setup allows you to securely tunnel into your network from any remote location, protecting your internet traffic and providing seamless access to your local network resources. PiVPN streamlines the configuration process, handling certificate generation, client profiles, and firewall rules automatically. While primarily designed for home use, you can also use PiVPN in any cloud provider VPS running Ubuntu or Debian. This can be a valuable option to assist those with untrustworthy ISPs, allowing you to route your traffic through a trusted cloud server before it hits the internet.OpenVPN: Robust and Widely Supported
OpenVPN is a mature, highly configurable, and widely trusted VPN protocol. It's known for its strong encryption and ability to traverse firewalls and NAT. Popular free VPNs like OpenVPN are relatively easy to set up on a home network, especially with tools like PiVPN simplifying the process. While OpenVPN might be slightly more resource-intensive than newer protocols like WireGuard, its stability and broad compatibility across various operating systems and devices make it an excellent choice for a personal VPN server on your Raspberry Pi. It provides a reliable and secure way to access your Raspberry Pi remotely and other devices on your network.WireGuard: Modern, Fast, and Simple
WireGuard is a newer, leaner, and incredibly fast VPN protocol that has gained immense popularity for its simplicity and performance. It uses state-of-the-art cryptography and has a significantly smaller codebase compared to OpenVPN, which translates to better speeds and less overhead. Many users have found great success with WireGuard on their Raspberry Pi. As one user shared, "So a update. I have most things working now. I can access my Raspberry Pi NAS locally using the network folder on my laptop, so that is good. I installed WireGuard on my Pi (via OMV) and I can also access my Docker containers remotely using my WireGuard VPN and my IP and the proper port via browser, which makes me happy." This anecdote highlights the power of WireGuard for accessing various services running on your Pi remotely. Today, it’s becoming increasingly straightforward to set up a remote VPN gateway on any LAN using just a Raspberry Pi 4 and services that leverage WireGuard. For instance, some commercial VPN providers offer dedicated WireGuard services, which can be combined with your Raspberry Pi to create a powerful and fast remote access solution. This approach allows you to benefit from the speed of WireGuard while potentially offloading some of the setup complexities to a service provider.Simplified Remote Access Solutions (Beyond Self-Hosted VPNs)
While setting up your own VPN server on a Raspberry Pi offers maximum control and privacy, it can sometimes be complex for those less familiar with networking. Thankfully, there are excellent third-party services that simplify the process of secure remote access, often leveraging VPN-like tunneling without requiring you to manage a full VPN server yourself. These solutions are particularly appealing if you want to access Raspberry Pi remotely without the hassle of port forwarding or complex network configurations.Tailscale: Effortless WireGuard-Powered Tunnels
Tailscale offers a remarkably simple solution for those needing simple, secure remote access to their Raspberry Pi or any other device. It builds on the speed and security of WireGuard but abstracts away the complexities of key exchange, firewall rules, and IP address management. By leveraging WireGuard for fast and encrypted connections, and simplifying the complexities of VPN setup, Tailscale allows you to focus more on your projects and less on network configuration. You simply install the Tailscale client on your Raspberry Pi and your remote devices, log in with the same account, and they automatically form a secure mesh network. This means your devices can talk to each other directly, securely, and privately, regardless of their physical location or the underlying network infrastructure. It's an ideal choice for quick, secure access without deep networking knowledge.Remote.it & SocketXP: Cloud-Based Gateways
Another category of simplified solutions involves cloud-based remote access and device management platforms. These services act as intermediaries, creating secure tunnels between your remote device and your Raspberry Pi without the need for traditional VPN servers or port forwarding. * **Remote.it:** In this tutorial, we’re taking a look at remote.it to set up a work network using Raspberry Pi as a remote access gateway. With remote.it, you can access a Raspberry Pi remotely without port forwarding. It establishes secure connections by routing traffic through their cloud infrastructure, effectively bypassing NAT and firewall limitations. This makes it an excellent choice for accessing devices behind challenging network setups. * **SocketXP:** SocketXP is a cloud-based IoT remote access and device management solution that provides SSH access to remotely located IoT devices such as a Raspberry Pi, Arduino, Nvidia Jetson, or any embedded Linux devices. It works seamlessly even if your devices are behind a NAT router or firewall, by creating secure SSL/TLS VPN tunnels over the internet. This is particularly useful for managing a fleet of IoT devices deployed in various locations, offering centralized control and secure access. These cloud-based solutions are perfect for scenarios where self-hosting a VPN is impractical or undesirable, providing a quick and secure way to access your Raspberry Pi remotely.Overcoming Challenges: Pi as a VPN Client & Remote Access
A common challenge arises when your Raspberry Pi itself is configured to be a VPN client, meaning it's always on and connected to an external VPN service for its outbound internet traffic. In such a scenario, the Pi's IP address from your local network's perspective becomes inaccessible from the outside world, as all its traffic is routed through the external VPN tunnel. As one user aptly put it, "I have a Pi that's always on and connected to a VPN, which means I cannot access it remotely. I am trying to find a solution to access it remotely, so I am seeking advice from the gurus here." This is a valid concern, as the very act of securing the Pi's outbound traffic can inadvertently block inbound remote access attempts. The traditional methods of port forwarding or even trying to run a VPN server on the Pi itself won't work effectively if the Pi is already acting as a VPN client that routes all its traffic. One potential solution, as considered by the user, is to use a second Raspberry Pi. "My preferred/easiest solution so far is to use my 2nd Pi, soon arriving and to be used for remote monitoring." This second Pi could act as a dedicated VPN server or a gateway using services like Tailscale or remote.it, providing a bridge to your primary Pi, regardless of its VPN client status. However, a more elegant solution often lies in the simplified remote access services we discussed earlier, such as Tailscale, remote.it, or SocketXP. These services create peer-to-peer or cloud-brokered tunnels that are initiated from the Raspberry Pi itself, outbound. Because the Pi initiates the connection to the cloud service, it bypasses the need for inbound port forwarding or complex VPN server configurations that conflict with its client VPN setup. The cloud service then acts as a rendezvous point, allowing your remote device to connect to the Pi through this established tunnel, effectively allowing you to access Raspberry Pi remotely even when it's acting as a VPN client. This approach ensures your Pi's outbound privacy while maintaining your ability to manage it remotely.Best Practices for Secure Remote Access to Your Raspberry Pi
Establishing remote access to your Raspberry Pi, especially using VPNs, significantly enhances security compared to exposing services directly to the internet. However, even with VPNs, adhering to best practices is crucial to maintain a robust and secure environment. Your Raspberry Pi, when remotely accessible, becomes an entry point to your home network, making its security paramount. Here are some essential best practices to follow:- Use Strong, Unique Passwords and SSH Keys: Never stick with default usernames or passwords. Always change the default 'pi' user password or, better yet, create a new user and disable the default 'pi' user. For SSH, switch from password authentication to SSH key-based authentication. This provides a much stronger layer of security, as private keys are nearly impossible to guess.
- Keep Your Raspberry Pi OS Up-to-Date: Regularly update your Raspberry Pi's operating system and installed software. This ensures you have the latest security patches and bug fixes. You can do this with simple commands like `sudo apt update` and `sudo apt full-upgrade`.
- Implement a Firewall: Even if you're using a VPN, having a local firewall on your Raspberry Pi (like `ufw`) is a good idea. Configure it to only allow necessary incoming connections (e.g., SSH from your VPN's internal IP range). This adds another layer of defense against unauthorized access.
- Limit Open Ports: Only run services and open ports that are absolutely necessary. Every open port is a potential vulnerability. If you're using a VPN, you generally won't need to open any ports on your main router for direct access to the Pi.
- Use VPNs for All Remote Access: As highlighted throughout this guide, always route your remote connections through a secure VPN tunnel. This encrypts your traffic and keeps your Pi's services hidden from the public internet, significantly reducing your attack surface.
- Regular Backups: Regularly back up your Raspberry Pi's SD card, especially before major configuration changes or updates. This allows you to quickly restore your system if anything goes wrong.
- Monitor Logs: Periodically check your Raspberry Pi's system logs for any unusual activity or failed login attempts. This can alert you to potential security breaches.
- Consider Two-Factor Authentication (2FA): For critical services or SSH access, consider implementing 2FA for an extra layer of security.
- Mobile Data Access: Yes, you can use your mobile data connection to access your Raspberry Pi! Ensure that your client device (laptop, phone, etc.) is connected to the internet through mobile data and that you have configured one of the remote access methods discussed (port forwarding/DDNS, tunneling service, or VPN). When using a VPN, your mobile device simply needs internet access to connect to your VPN server, allowing you to access your Pi securely from anywhere.
Conclusion
The ability to access Raspberry Pi remotely via VPN is a game-changer for anyone looking to maximize the utility and flexibility of this incredible single-board computer. We've explored why remote access is essential, the basic requirements, and the limitations of traditional methods. Crucially, we've delved into the power of VPNs, highlighting how they create secure, encrypted tunnels that bypass the risks associated with direct port forwarding. From setting up your own VPN server with PiVPN, OpenVPN, or WireGuard, to leveraging simplified cloud-based solutions like Tailscale, remote.it, and SocketXP, you now have a comprehensive understanding of the tools and techniques available. We also addressed the specific challenge of accessing a Pi that's already acting as a VPN client, offering practical solutions to ensure continuous remote management. Remember, the cornerstone of effective remote access is security. By adhering to best practices such as using strong passwords, keeping software updated, and always routing your connections through a VPN, you can ensure your Raspberry Pi remains a secure and powerful hub for all your remote projects. Now that you're equipped with this knowledge, why not dive in and set up your own secure remote access solution? Share your experiences in the comments below, or explore other Raspberry Pi projects on our site!
Raspberry Pi VPN Setup Guide - Raspberry Pi Spy

how to access Raspberry Pi remotely | MaidaTech
How to Use a Raspberry pi as a VPN Server - The Engineering Projects
