Master Secure Remote Control For Raspberry Pi: Your Ultimate Guide
In today's interconnected world, the ability to securely manage your devices from afar is not just a convenience, but a necessity. For enthusiasts and professionals alike, the Raspberry Pi has become an indispensable tool for countless projects, from home automation to sophisticated IoT deployments. The true power of this versatile single-board computer, however, is unlocked when you can access your Raspberry Pi from anywhere, anytime. This guide delves deep into how you can achieve secure remote control Raspberry Pi, ensuring your projects remain accessible, manageable, and most importantly, safe from unauthorized access.
Whether you're troubleshooting a remote sensor network, updating a media server, or simply checking on your smart home setup, managing your Raspberry Pi remotely lets you control and monitor it from anywhere. This comprehensive guide will show you how to easily set up remote access on your Pi, offering tips on Windows connectivity and ensuring a smooth, reliable connection for remote management, all while prioritizing robust security measures.
Why Secure Remote Control Raspberry Pi is Essential
The Raspberry Pi, with its compact size and powerful capabilities, has found its way into countless applications, often deployed in locations where direct physical access isn't always practical or possible. Imagine a weather station collecting data on a remote mountain, a security camera system monitoring an isolated property, or a digital signage display in a retail store. In these scenarios, the ability to remotely control a Raspberry Pi is not merely a luxury; it's fundamental to its operation and maintenance.
Beyond convenience, security is paramount. A compromised Raspberry Pi can serve as an entry point into your home network, expose sensitive data, or be weaponized for malicious activities like DDoS attacks. Therefore, any remote access solution must be inherently secure, protecting your device and your entire network from potential threats. This is precisely why focusing on secure remote control Raspberry Pi methods is non-negotiable. It's about maintaining operational continuity, ensuring data integrity, and safeguarding your digital perimeter. Without proper security, the very convenience of remote access can quickly turn into a significant vulnerability.
Understanding Core Remote Access Technologies
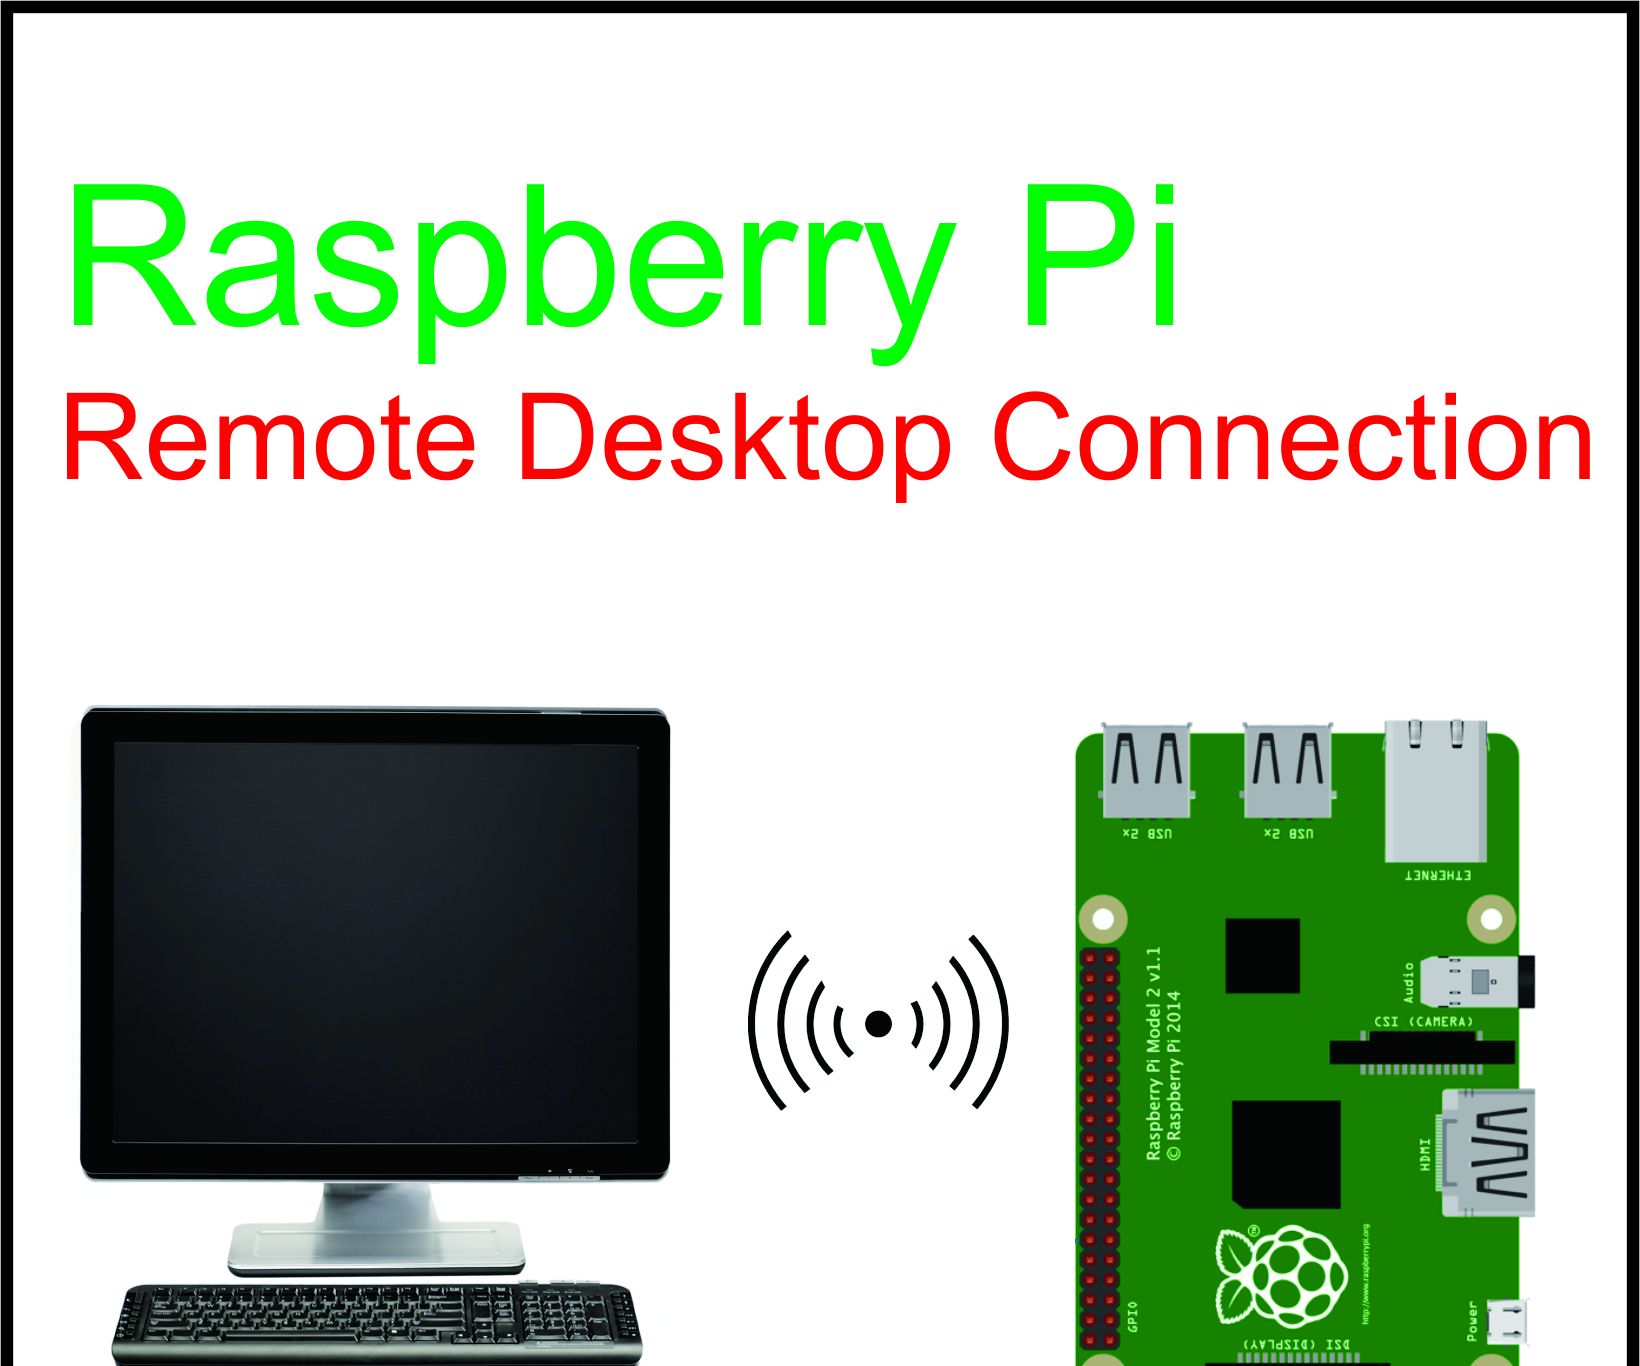
When it comes to remotely controlling your Raspberry Pi, two primary technologies stand out: SSH for command-line interaction and VNC for graphical desktop access. Each serves a distinct purpose and is crucial for comprehensive remote management. Understanding their differences and how they work is the first step towards effective and secure remote control Raspberry Pi.
SSH: Secure Shell for Command Line Access
SSH, or Secure Shell, is the workhorse for remote command-line access. It provides a secure, encrypted channel over an unsecured network, allowing you to execute commands, manage files, and configure your Raspberry Pi's operating system as if you were sitting right in front of it. SSH (Secure Shell) provides remote access to Raspberry Pi terminal, which is incredibly powerful for server-side tasks, scripting, and automation.
One of the key advantages of SSH is its efficiency. Since it only transmits text-based commands and responses, it requires minimal bandwidth, making it ideal for slower or less reliable network connections. Furthermore, SSH also enables you to share files to, and from, a Raspberry Pi using SCP (Secure Copy) on the command line, or SFTP (SSH File Transfer Protocol). These protocols are built on top of SSH, inheriting its robust security features, making them a secure choice for transferring sensitive data between your local machine and your Raspberry Pi. For any serious Raspberry Pi user, mastering SSH is a fundamental skill.
VNC: Visual Control of Your Raspberry Pi Desktop
While SSH excels at command-line operations, there are times when you need a visual interface. This is where VNC, or Virtual Network Computing, comes into play. VNC provides remote access to Raspberry Pi desktop screen, allowing you to see and interact with the graphical user interface (GUI) of your Raspberry Pi, just as you would if you had a monitor, keyboard, and mouse directly connected.
VNC is particularly useful for tasks that require graphical interaction, such as browsing the web, using desktop applications, or configuring settings through a visual menu. It's an excellent solution for those who are more comfortable with a desktop environment than a command line. However, VNC typically requires more bandwidth than SSH due to the continuous transmission of screen updates. While VNC itself can be secure, it's often recommended to tunnel VNC connections over an SSH connection for an added layer of encryption and security, ensuring your visual remote control Raspberry Pi sessions are protected.
Enabling SSH on Your Raspberry Pi: A Step-by-Step Guide
For security reasons, by default, SSH is disabled on Raspberry Pi OS. This is a crucial security measure to prevent unauthorized access to newly deployed devices. However, enabling it is straightforward and necessary for secure remote control Raspberry Pi. Here’s how to enable it, whether you have physical access to your Pi's desktop or are working headless.
Method 1: Using the Raspberry Pi Configuration Tool (with desktop access) If you have access to the Raspberry Pi desktop, this is the easiest way:
- Open the Raspberry Pi Configuration tool from the Start Menu (usually under Preferences).
- Navigate to the 'Interfaces' tab.
- Find the 'SSH' option and click the radio button to 'Enable' it.
- Click 'OK' to apply the changes.
- You may be prompted to reboot your Raspberry Pi for the changes to take full effect, though often SSH starts immediately.
Method 2: Enabling SSH Headless (without desktop access) If you've just flashed a new Raspberry Pi OS image and want to enable SSH before first boot, you can do so by creating a file named `ssh` (no extension) in the boot partition of your SD card.
- After flashing Raspberry Pi OS to your SD card, do NOT remove it from your computer.
- Navigate to the 'boot' partition of the SD card (it will usually be the only visible partition on Windows).
- Create an empty file named `ssh` (make sure there's no `.txt` extension). On Linux/macOS, you can use `touch /Volumes/boot/ssh`. On Windows, open Notepad, save an empty file as `ssh` (select "All Files" for type, and remove `.txt`).
- Safely eject the SD card and insert it into your Raspberry Pi.
- When the Raspberry Pi boots, it will detect this file and enable SSH. The file will then be deleted for security.
Once SSH is enabled, you can connect to your Raspberry Pi using an SSH client (like PuTTY on Windows, or the built-in Terminal on Linux/macOS) by entering `ssh pi@your_raspberry_pi_ip_address`. Remember to replace `your_raspberry_pi_ip_address` with the actual IP address of your Pi on your local network.
Raspberry Pi Connect: Simplified Secure Remote Access
For those seeking a more streamlined and user-friendly approach to secure remote control Raspberry Pi, the Raspberry Pi Foundation has introduced Raspberry Pi Connect. This is a straightforward app designed for easy remote access to your Raspberry Pi, utilizing a secure remote access method that simplifies the complexities often associated with network configuration and port forwarding.
Raspberry Pi Connect is a relatively new and exciting development that aims to make remote access as effortless as possible. It's a secure remote access solution for Raspberry Pi OS, allowing you to connect to your Raspberry Pi desktop and command line directly from any browser. This means you don't necessarily need to install specific SSH or VNC clients on your local machine; a web browser is all you need. This is particularly convenient for accessing your Pi from various devices, including those where installing new software might be restricted.
The service handles the underlying network complexities, often allowing you to bypass router configurations like port forwarding, which can be a significant hurdle for many users. This makes it an excellent option for beginners or anyone who wants a quick and reliable way to establish secure remote control Raspberry Pi without deep networking knowledge. Simply put, you need to be using a Raspberry Pi 5, 4, or 400 for optimal compatibility with Raspberry Pi Connect, ensuring you have the necessary hardware capabilities for a smooth experience.
Third-Party Solutions for Enhanced Security: The remote.it Example
While SSH, VNC, and Raspberry Pi Connect offer robust remote access capabilities, some users and professional deployments might seek additional layers of security, flexibility, or centralized management, especially for IoT devices. This is where third-party solutions like `remote.it` shine, providing an alternative and often more secure method for remote control Raspberry Pi.
`remote.it` offers a unique approach to secure remote access. Instead of opening ports on your router, which can expose your network to potential threats, `remote.it` establishes secure, outbound connections from your Raspberry Pi to their service. Now, connect to your Raspberry Pi via the remote.it app for a secure connection. This method significantly enhances security because your port will be cloaked on Raspberry Pi, and because you’re connecting via remote.it’s service, you will not be sharing your IP and port information publicly. This dramatically reduces your attack surface, making your Raspberry Pi less visible to malicious scanners on the internet.
Furthermore, `remote.it` utilizes a peer-to-peer (P2P) service model. This ensures that your data is not flowing through remote.it’s service. Instead, once the initial connection is established, data flows directly between your client device and your Raspberry Pi, maintaining privacy and minimizing latency. This makes `remote.it` an attractive option for managing and monitoring IoT devices, setting cloud alerts, and even running batch jobs on IoT devices, all while maintaining a high level of security and control. It's a powerful tool for those looking to expand their remote access capabilities beyond simple SSH or VNC.
Ensuring a Smooth and Reliable Connection: Tips and Best Practices
Achieving secure remote control Raspberry Pi isn't just about enabling the right services; it also involves optimizing your network and implementing robust security practices. A smooth, reliable connection ensures uninterrupted access, while strong security measures protect your Pi from potential threats.
Network Configuration for Optimal Performance
A stable network connection is the backbone of reliable remote access. Here are some tips:
- Static IP Address: Assigning a static IP address to your Raspberry Pi on your local network prevents its IP from changing, which would break your remote connection. You can do this via your router's DHCP reservation settings or by configuring the Pi's network settings directly.
- Port Forwarding (if not using services like Pi Connect or remote.it): If you need to access your Pi from outside your local network without a third-party service, you'll need to configure port forwarding on your router. This directs incoming traffic on a specific port to your Raspberry Pi's local IP address. Be extremely cautious with this, as it opens a direct path to your Pi from the internet.
- Dynamic DNS (DDNS): If your home internet service provider assigns you a dynamic public IP address (which changes periodically), a DDNS service can map a consistent hostname (e.g., `myraspberrypi.ddns.net`) to your changing public IP. This allows you to connect using a memorable name instead of a fluctuating IP address.
- Quality Wi-Fi or Ethernet: Ensure your Raspberry Pi has a strong and stable network connection. For critical applications, an Ethernet connection is always more reliable than Wi-Fi.
Security Hardening Beyond Basic Setup
Enabling SSH is just the first step. To truly secure your remote control Raspberry Pi, you must implement additional hardening measures:
- Change Default Password: The default 'pi' user with password 'raspberry' is a major security risk. Change it immediately after first boot using the `passwd` command.
- Use SSH Key-Based Authentication: This is significantly more secure than password authentication. Generate an SSH key pair on your local machine and copy the public key to your Raspberry Pi. Then, disable password authentication for SSH. This prevents brute-force attacks.
- Disable Root Login: Never allow direct SSH login for the root user. If you need root privileges, log in as a regular user and then use `sudo`.
- Change SSH Port: While not a security panacea, changing the default SSH port (22) to a non-standard port can deter automated scanning bots looking for easy targets.
- Implement a Firewall: Use `ufw` (Uncomplicated Firewall) or `iptables` to restrict incoming connections to only the necessary ports (e.g., your new SSH port, VNC port if used).
- Keep Software Updated: Regularly update your Raspberry Pi OS and all installed packages (`sudo apt update && sudo apt full-upgrade`). This ensures you have the latest security patches.
- Two-Factor Authentication (2FA): For critical systems, consider adding 2FA to your SSH login for an extra layer of security.
Windows Connectivity and Cross-Platform Management
One of the great advantages of secure remote control Raspberry Pi is its cross-platform compatibility. Whether you're on Windows, macOS, or Linux, you can effectively manage your Pi. For Windows users, specifically, there are several convenient options.
It allows you to access the desktop of a remote computer with Windows OS using the Windows Remote Access app, but for Raspberry Pi, you'll typically use dedicated SSH and VNC clients. On Windows, popular SSH clients include PuTTY or the built-in OpenSSH client in PowerShell/Command Prompt (available in newer Windows 10/11 versions). For VNC, RealVNC Viewer is a widely used and reliable choice that works seamlessly with the VNC server on Raspberry Pi OS.
For file transfer, Windows users can leverage tools like WinSCP for a graphical SFTP/SCP client, making it easy to drag and drop files to and from your Raspberry Pi. macOS and Linux users have SSH and SCP/SFTP built directly into their terminals, offering a native and powerful way to interact with their Pis. The beauty of these standard protocols is their universality, ensuring a smooth, reliable connection for remote management regardless of your local operating system. This guide is designed to offer tips on Windows connectivity, ensuring you can manage your Pi effectively from your preferred environment.
Expanding Your Reach: Remote Management of IoT Devices
The principles of secure remote control Raspberry Pi extend far beyond personal projects. The Raspberry Pi is a cornerstone in the world of the Internet of Things (IoT), serving as a powerful edge device for data collection, processing, and control. The ability to remotely access IoT devices like these is critical for their deployment, maintenance, and scalability.
Imagine a fleet of Raspberry Pis deployed across a smart city, monitoring air quality, traffic flow, or public safety. Managing and monitoring IoT devices on this scale requires robust remote capabilities. With secure remote access, you can:
- Deploy Updates: Push software updates and security patches to multiple devices simultaneously, ensuring they remain secure and functional.
- Troubleshoot Remotely: Diagnose and fix issues without needing to dispatch a technician to each physical location, saving time and resources.
- Collect Data: Access sensor data and logs from remote locations for analysis and decision-making.
- Set Cloud Alerts: Integrate with cloud platforms to receive automated alerts based on device performance or environmental conditions.
- Run Batch Jobs: Execute scripts or commands on groups of devices to perform routine tasks or respond to specific events.
The secure remote control Raspberry Pi becomes a gateway to managing an entire ecosystem of connected devices. Whether through SSH, VNC, Raspberry Pi Connect, or specialized IoT platforms like `remote.it`, the ability to control remote Raspberry Pi from anywhere is foundational for effective IoT management, enabling you to scale your projects and ensure their continuous operation.
Conclusion
Mastering secure remote control for your Raspberry Pi is an empowering skill that unlocks the full potential of this versatile device. From basic SSH access to graphical VNC sessions, and leveraging modern solutions like Raspberry Pi Connect or advanced third-party services such as `remote.it`, you now have a comprehensive understanding of the tools and techniques available. We've covered how to easily set up remote access on your Pi, offering tips on Windows connectivity and ensuring a smooth, reliable connection for remote management.
Remember, while convenience is a driving factor, security must always be your top priority. By implementing strong passwords, using SSH key-based authentication, keeping your software updated, and being mindful of your network configuration, you can ensure your Raspberry Pi remains a secure and powerful asset, accessible from anywhere.
Are you ready to take your Raspberry Pi projects to the next level with secure remote access? Share your experiences, challenges, or favorite remote control methods in the comments below! If you found this guide helpful, consider sharing it with fellow Raspberry Pi enthusiasts. Explore more of our articles for further insights into optimizing your Raspberry Pi experience.

Revolutionizing Remote IoT VPC With Raspberry Pi
Raspberry Pi - Remote Desktop Connection - Instructables

Media Remote Control With IR Receiver Module for Raspberry Pi Australia
