Unlock Your Mac: Remote IoT Control Over The Internet Made Easy
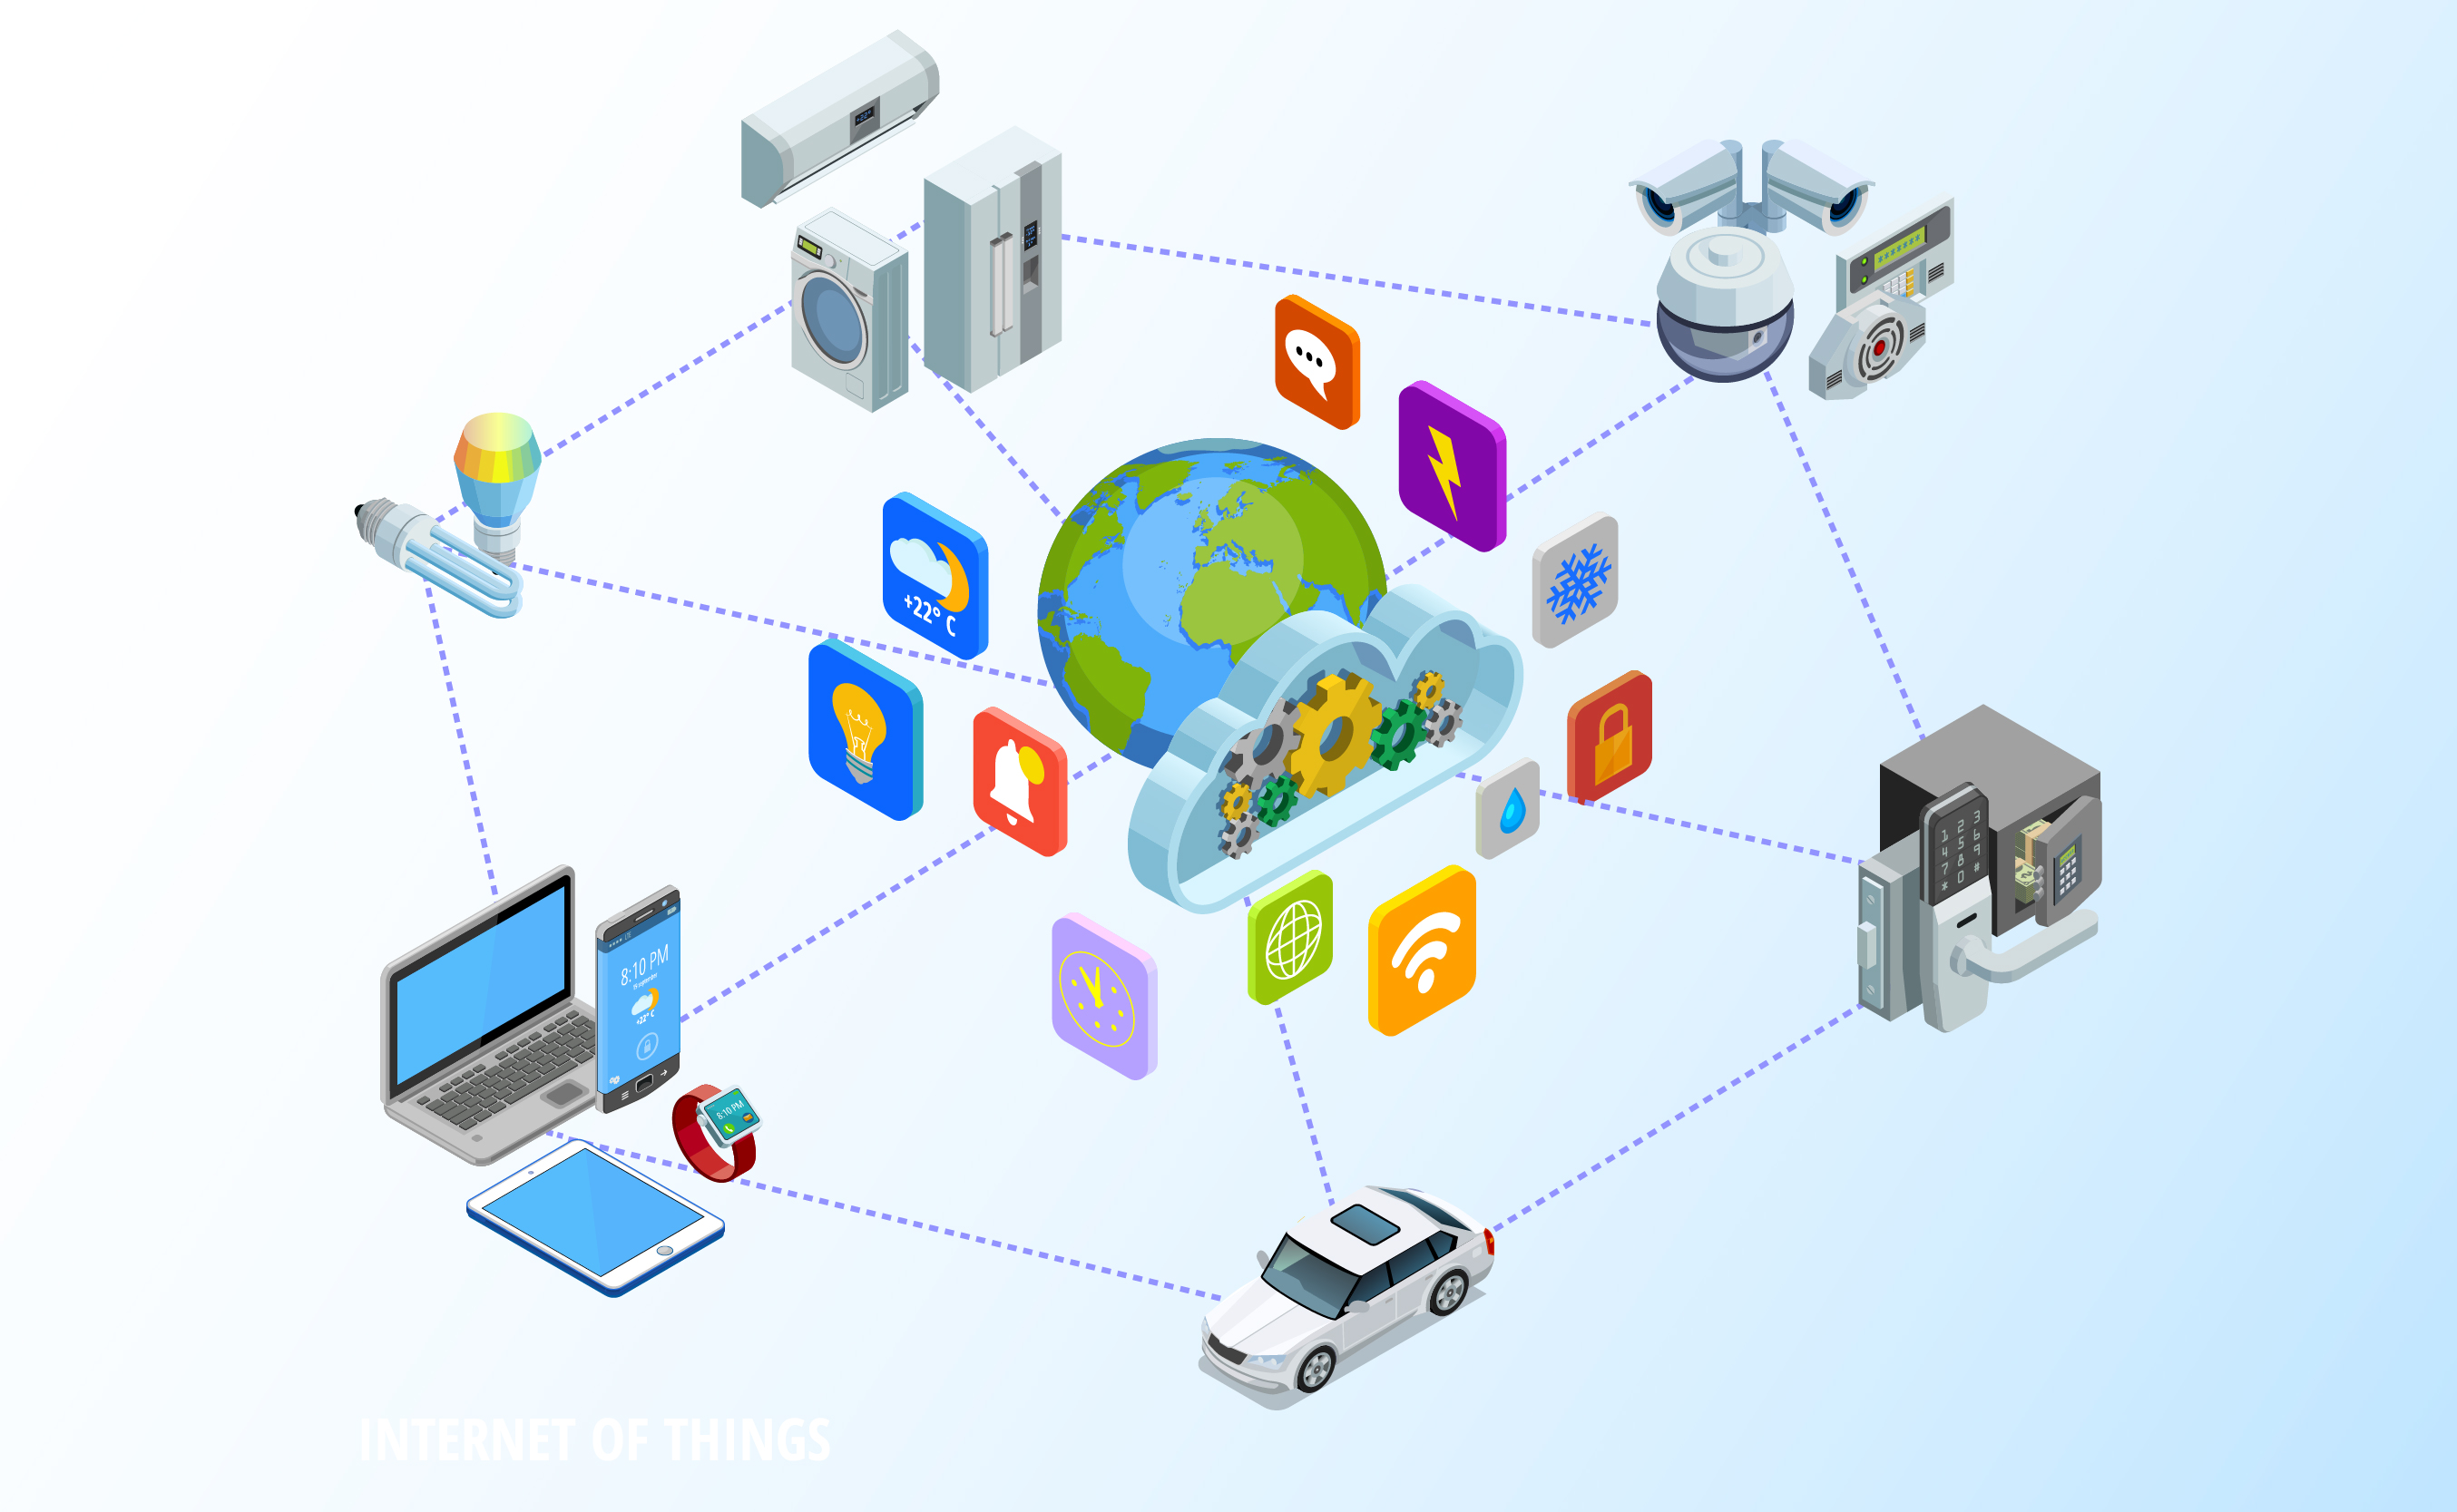
The digital landscape is increasingly populated by smart devices, from intelligent thermostats to security cameras and automated lighting systems. The ability to manage these Internet of Things (IoT) devices remotely, especially from the convenience of your Mac, is no longer a luxury but a fundamental necessity for modern living and efficient operations. Imagine adjusting your home's climate while you're away, checking on your pets, or ensuring your business's smart sensors are functioning correctly, all from your MacBook Pro or iMac. This comprehensive guide will demystify the process of how to use remote manage IoT over internet Mac, empowering you to connect, control, and secure your smart ecosystem with confidence and ease.
In this article, we will explore how to use remote management to control IoT devices over the internet using a Mac without any hassle. We'll delve into robust, secure methods that go beyond simple free solutions, ensuring your remote access is both powerful and protected. By following the steps outlined in this guide, you can unlock new possibilities for both personal and professional applications, streamlining operations, reducing costs, and enhancing productivity, whether you're a homeowner automating your lights or managing a complex network of sensors.
Table of Contents
- Understanding Remote IoT Management on Mac
- Essential Prerequisites for Remote IoT Control
- Method 1: SSH – The Secure Backbone for Mac IoT Control
- Method 2: VPNs – Securely Bridging Your Mac to IoT
- Beyond SSH & VPN: Other Remote Access Methods
- Securing Your Remote IoT Setup on Mac
- Troubleshooting Common Remote IoT Management Issues
- Best Practices for Seamless Remote IoT Operations
Understanding Remote IoT Management on Mac
Before we dive into the practical steps of how to use remote manage IoT over internet Mac, it's crucial to grasp the foundational concepts. Remote IoT management refers to the ability to control, monitor, and interact with your Internet of Things devices from a location other than where the devices are physically present, typically over the internet. This technology is particularly useful for a myriad of scenarios, from managing smart home appliances to overseeing industrial sensors in a remote facility. The beauty of leveraging your Mac for this task lies in its robust Unix-based operating system, which provides powerful command-line tools and a stable environment for secure remote connections.
What is Remote IoT?
RemoteIoT refers to the technology that allows devices to communicate and interact remotely over the internet. This encompasses a broad spectrum of devices, from simple smart plugs to complex industrial machinery equipped with sensors. The core idea is that these devices are connected to the internet, allowing them to send data, receive commands, and be managed from anywhere in the world. For instance, a smart thermostat can send temperature data to your Mac, and you can send a command back to adjust the heating. This seamless communication is what makes the IoT ecosystem so powerful and transformative. It's about creating a network of interconnected physical objects that can collect and exchange data, enabling unprecedented levels of automation and control.
Why Remote Manage IoT from Your Mac?
Managing IoT devices remotely over the internet on your Mac without additional cumbersome software is both feasible and highly beneficial. Your Mac, with its powerful terminal and built-in networking capabilities, serves as an excellent central hub for controlling your IoT ecosystem. The advantages are manifold: convenience, efficiency, and enhanced control. Instead of needing to be physically present or relying on proprietary apps that might lock you into a specific ecosystem, your Mac offers a flexible and powerful alternative. By learning how to use remote manage IoT over internet Mac, you can streamline operations, reduce costs, and enhance productivity. Whether you're a homeowner automating your lights or a professional managing a network of sensors, the ability to access and control your devices from your Mac empowers you to maintain oversight and respond to situations in real-time, regardless of your physical location.
Essential Prerequisites for Remote IoT Control
Before you can successfully remote manage IoT over internet Mac, there are several foundational elements you need to have in place. These prerequisites ensure that your devices are accessible, your network is configured correctly, and your connections are secure. First and foremost, your IoT devices must be connected to your local network (Wi-Fi or Ethernet) and have an active internet connection. Ensure they are powered on and functioning correctly locally. Secondly, you'll need to know the local IP addresses of your IoT devices. This can usually be found through your router's administration interface or by using network scanning tools available on your Mac. For remote access over the internet, your home or office router plays a critical role. You'll likely need to configure port forwarding, which directs incoming internet traffic to specific devices on your local network. Additionally, a static public IP address for your network is ideal, but if you have a dynamic IP, a Dynamic DNS (DDNS) service will be essential to ensure your network can always be found by a consistent hostname, even if your IP changes. Finally, ensure your Mac's operating system is up-to-date, as this ensures you have the latest security patches and features necessary for secure remote connections.
Method 1: SSH – The Secure Backbone for Mac IoT Control
Connecting an IoT device over the internet using SSH on a Mac is a powerful and highly secure way to manage your devices remotely. Secure Shell (SSH) is a cryptographic network protocol for operating network services securely over an unsecured network. It provides a secure channel over an unsecured network by using a client-server architecture, connecting an SSH client application with an SSH server. For many IoT devices, especially those running Linux-based operating systems like Raspberry Pis or custom-built smart devices, SSH is the primary method for command-line access and management. This guide demystifies the process of connecting your IoT devices over the internet using Secure Shell (SSH) on a Mac. We will delve into the essentials, from initial setup to establishing a robust, encrypted connection. The inherent security of SSH, with its strong encryption and authentication mechanisms, makes it an ideal choice for sensitive remote operations, ensuring that your commands and data remain private and protected from eavesdropping or tampering. This method is particularly favored by developers and advanced users who require direct, low-level control over their devices.
Setting Up SSH for Remote Access
To establish an SSH connection from your Mac to an IoT device, follow these steps:
- Enable SSH on your IoT Device: Many IoT devices, particularly those designed for custom development, have SSH capabilities built-in but often disabled by default. For example, on a Raspberry Pi, you can enable SSH via the `raspi-config` tool or by placing an empty file named `ssh` in the boot partition. Consult your device's documentation for specific instructions.
- Find Your Device's Local IP Address: Use your router's administration page or a network scanner like Fing or Advanced IP Scanner (though these are Windows-centric, Mac alternatives exist like Network Utility or `nmap` via Homebrew) to identify the local IP address of your IoT device.
- Configure Port Forwarding on Your Router: This is the crucial step for internet access. Log into your router's administration panel (usually via a web browser, e.g., `192.168.1.1`). Navigate to the "Port Forwarding," "NAT," or "Virtual Server" section. Create a new rule:
- External Port (WAN Port): Choose a high, non-standard port number (e.g., 2222, 50000) to avoid common scanning attempts. Avoid using the default SSH port 22 directly from the internet.
- Internal Port (LAN Port): This should be the standard SSH port, which is 22.
- Internal IP Address: Enter the local IP address of your IoT device.
- Protocol: TCP.
- Dynamic DNS (DDNS) Setup (if needed): If your internet service provider assigns you a dynamic public IP address, you'll need a DDNS service (e.g., No-IP, DynDNS). Register for a hostname (e.g., `myiotdevice.ddns.net`) and configure your router or a client on your Mac/IoT device to update the DDNS service with your current public IP.
- Connect from Your Mac: Open the Terminal application on your Mac (Applications > Utilities > Terminal). Use the `ssh` command:
For example: `ssh pi@myiotdevice.ddns.net -p 2222`. The first time you connect, you'll be asked to confirm the authenticity of the host. Type `yes`. Then, enter the password for the `username` on your IoT device.ssh username@your_public_ip_or_ddns_hostname -p external_port - SSH Key-Based Authentication (Highly Recommended): For enhanced security and convenience, set up SSH key pairs instead of passwords.
- Generate a key pair on your Mac: `ssh-keygen -t rsa -b 4096` (follow prompts, leave passphrase empty for convenience, but a passphrase adds security).
- Copy the public key to your IoT device: `ssh-copy-id -p external_port username@your_public_ip_or_ddns_hostname`. You'll need to enter the password one last time.
- Now you can connect without a password: `ssh username@your_public_ip_or_ddns_hostname -p external_port`.
By following these steps, you can ensure a secure and reliable connection to remote manage IoT over internet Mac using SSH. This method provides direct command-line control, allowing you to run scripts, update software, and troubleshoot issues with precision.
Method 2: VPNs – Securely Bridging Your Mac to IoT
One of the most secure and robust ways to remotely manage IoT devices behind a router using a Mac is by using a Virtual Private Network (VPN). A VPN creates a secure, encrypted connection between your Mac and your home or office network, effectively making your Mac appear as if it's physically present on the local network where your IoT devices reside. This eliminates the need for individual port forwarding rules for each device and centralizes your security. Instead of exposing individual device ports to the internet, you only expose a single VPN server port. This technology is particularly useful for managing multiple devices or when you require access to services that aren't typically exposed via port forwarding (like local network shares or internal web interfaces). Popular VPN protocols include OpenVPN, WireGuard, and IPsec, each offering different trade-offs in terms of performance and ease of setup. Using a VPN significantly enhances your security posture, as all traffic between your Mac and your IoT devices is encrypted, making it much harder for unauthorized parties to intercept or tamper with your communications. This method is highly recommended for those who prioritize security and comprehensive network access when they remote manage IoT over internet Mac.
To set up a VPN for IoT management:
- Choose a VPN Server:
- Router-based VPN: Many modern routers (especially higher-end models) have built-in VPN server capabilities (e.g., OpenVPN, L2TP/IPsec). This is often the simplest approach as the router handles the server configuration and port forwarding automatically.
- Dedicated VPN Server (e.g., Raspberry Pi): You can set up a dedicated VPN server on a low-power device like a Raspberry Pi or an old computer running software like OpenVPN, WireGuard, or Pi-VPN. This offers more flexibility and control.
- Cloud VPN Service: For advanced users, deploying a VPN server on a cloud platform (AWS, Azure, Google Cloud) can provide a highly reliable and scalable solution, though it involves more setup complexity and potential costs.
- Configure the VPN Server: Follow the documentation for your chosen VPN server solution. This typically involves generating client configuration files and setting up user credentials. For router-based VPNs, it's usually a matter of enabling the feature and downloading a configuration profile. For a Raspberry Pi, tools like Pi-VPN automate much of the OpenVPN or WireGuard setup.
- Configure Port Forwarding for the VPN Server: If your VPN server is on a device *behind* your router (not the router itself), you'll need to forward the VPN server's specific port (e.g., UDP 1194 for OpenVPN, UDP 51820 for WireGuard) from your router to the internal IP address of your VPN server.
- Install VPN Client on Your Mac:
- For OpenVPN, download the official OpenVPN Connect client or Tunnelblick.
- For WireGuard, download the official WireGuard app from the App Store.
- For L2TP/IPsec, macOS has a built-in client in Network Preferences.
- Import VPN Configuration: Import the client configuration file generated by your VPN server into the VPN client on your Mac.
- Connect to the VPN: Once connected, your Mac will be on the same virtual network as your IoT devices. You can then access them using their local IP addresses, as if you were physically at home. This allows you to use any local management tools or web interfaces without further port forwarding.
By establishing a VPN, you create a secure tunnel that simplifies remote access and significantly bolsters the security of your IoT management, making it a preferred method for comprehensive remote control.
Beyond SSH & VPN: Other Remote Access Methods
While SSH and VPNs offer robust and secure ways to remote manage IoT over internet Mac, there are other methods available, each with its own advantages and use cases. Some IoT devices come with their own cloud-based management platforms, simplifying remote access but potentially locking you into a specific vendor ecosystem. Others might support protocols like VNC (Virtual Network Computing) or RDP (Remote Desktop Protocol) for graphical interfaces, or even specific tunnel services for simplified secure access. Understanding these alternatives can provide flexibility depending on the nature of your IoT device and your specific management needs.
Remote Desktop, VNC, and RDP
For IoT devices that run a full desktop environment (like a Raspberry Pi with Raspberry Pi OS Desktop), graphical remote access protocols can be incredibly useful. Learn how to remotely access, control, and manage your IoT device securely over the internet using SSH, remote desktop, VNC, and RDP through various methods. While direct exposure of VNC or RDP to the internet is generally discouraged due to security risks, they become viable and secure when used *within* a VPN tunnel or through a secure SSH tunnel:
- VNC (Virtual Network Computing): VNC allows you to see and interact with the graphical desktop of your IoT device.
- Setup on IoT Device: Install a VNC server (e.g., RealVNC Server for Raspberry Pi).
- Access from Mac: Use the built-in Screen Sharing app on your Mac (Finder > Go > Connect to Server... and enter `vnc://your_device_ip` or `vnc://localhost:port` if tunneling via SSH).
- Security Note: Always use VNC over a secure VPN connection or an SSH tunnel (`ssh -L 5900:localhost:5900 user@your_device_ip`) to encrypt the connection.
- RDP (Remote Desktop Protocol): Primarily used for Windows machines, but some Linux distributions can run RDP servers (e.g., `xrdp`).
- Setup on IoT Device: Install an RDP server (e.g., `xrdp` on Linux).
- Access from Mac: Use Microsoft Remote Desktop client for Mac (available on the App Store).
- Security Note: Similar to VNC, use RDP only over a VPN or SSH tunnel.
While HomeKit for remote management is a fantastic option for Apple users, it's typically limited to specific HomeKit-compatible devices and relies on an Apple Home Hub (like an Apple TV or HomePod) for remote access. It's a simpler, more integrated solution for consumer smart home devices but doesn't offer the low-level control of SSH or the network-wide access of a VPN for diverse IoT deployments. For broader, more technical control of your IoT devices, especially those that are not consumer-grade smart home gadgets, the methods outlined above provide superior flexibility and security. As the Internet of Things (IoT) continues to expand, understanding how to control these devices from a Mac without relying solely on simple, often limited, free solutions is crucial for true mastery.
Securing Your Remote IoT Setup on Mac
Security is paramount when you remote manage IoT over internet Mac. Exposing any device to the internet inherently introduces risks, and IoT devices are often targeted due to their perceived vulnerability. This article will cover everything you need to know about remote IoT management, including setting up port forwarding, configuring your router, and ensuring your devices remain secure. Neglecting security can lead to unauthorized access, data breaches, or even your devices being co-opted into botnets. Here are essential tips and best practices to fortify your remote IoT setup:
- Strong, Unique Passwords: This cannot be stressed enough. Default passwords are a major vulnerability. Use long, complex passwords for all your IoT devices, router, and VPN server. Consider a password manager.
- SSH Key-Based Authentication: As mentioned, use SSH keys instead of passwords for SSH access. Disable password authentication for SSH servers if possible.
- Limit Port Forwarding: Only forward the absolute minimum number of ports required. Use high, non-standard external ports for services like SSH (e.g., 2222 instead of 22).
- Firewall Configuration: Configure your router's firewall to block all incoming connections by default and only allow specific ports that you've explicitly forwarded. Your Mac's built-in firewall should also be enabled.
- Keep Software Updated: Regularly update the firmware on your router, IoT devices, and any software on your Mac used for remote management. Updates often include critical security patches.
- Disable Unnecessary Services: On your IoT devices, disable any services or protocols that you don't actively use (e.g., FTP, Telnet, HTTP web servers if not needed).
- Network Segmentation (Advanced): For more complex setups, consider creating a separate VLAN (Virtual Local Area Network) for your IoT devices. This isolates them from your main network, limiting potential damage if an IoT device is compromised.
- Two-Factor Authentication (2FA/MFA): If your router, VPN service, or IoT cloud platform supports it, enable 2FA for an extra layer of security.
- Monitor Logs: Regularly check the logs on your router and IoT devices for unusual activity or failed login attempts.
By implementing these security measures, you can significantly reduce the risk of unauthorized access and maintain the integrity of your remote IoT ecosystem. Trustworthiness in remote management begins with a robust security posture.
Troubleshooting Common Remote IoT Management Issues
Even with the best planning, you might encounter issues when trying to remote manage IoT over internet Mac. Here are some common problems and their solutions:
- Cannot Connect (Connection Timed Out/Refused):
- Check Internet Connection: Ensure both your Mac and the IoT device's network have active internet connections.
- Verify Public IP/DDNS: Confirm your public IP address is correct or that your DDNS service is updating correctly.
- Port Forwarding Issues: Double-check your router's port forwarding rules. Ensure the external port, internal port (22 for SSH, VPN port for VPN), and internal IP address of the IoT device are correct. Some routers require a reboot after changes.
- Firewall on IoT Device: The IoT device itself might have a firewall blocking incoming connections. Check its configuration (e.g., `ufw` on Linux-based devices).
- ISP Blocking: Some ISPs block certain common ports (like port 22). Using a high, non-standard external port for SSH can circumvent this.
- Authentication Failed:
- Incorrect Password/Key: Verify the username and password for SSH. If using SSH keys, ensure the public key is correctly installed on the IoT device and the private key is on your Mac.
- SSH Server Running: Ensure the SSH server (sshd) is running on your IoT device.
- Slow Performance/Intermittent Connectivity:
- Network Congestion: High traffic on your home network or internet connection can cause slowdowns.
- Wi-Fi Signal Strength: Weak Wi-Fi signal to the IoT device can lead to unstable connections.
- Device Resources: The IoT device might be underpowered or running too many processes, leading to slow responses.
- DDNS Not Updating:
- Check the DDNS client on your router or IoT device to ensure it's configured correctly and running.
- Verify your DDNS service account is active.
- Device Not Responding After Reboot:
- Ensure the IoT device is configured to start necessary services (like SSH server or VPN server) automatically on boot.
- Check power supply to the device.
Systematic troubleshooting, starting with the most basic checks, will help you quickly identify and resolve most remote management issues. Patience and methodical testing are key.
Best Practices for Seamless Remote IoT Operations
To ensure a smooth, secure, and efficient experience when you remote manage IoT over internet Mac, adopting certain best practices is vital. These practices go beyond basic setup and delve into maintaining a robust and reliable remote management system over time. By following the steps outlined in this guide, you can ensure a well-managed and secure IoT environment.
- Documentation is Key: Keep detailed records of your IoT devices, their IP addresses (local and public), port forwarding rules, usernames, and any custom configurations. This will be invaluable for troubleshooting and future expansion.
- Regular Backups: If your IoT devices store critical data or have complex configurations, implement a regular backup strategy. This could involve backing up SD card images for Raspberry Pis or configuration files for other devices.
- Monitoring: Set up basic monitoring for your critical IoT devices. This could be as simple as a ping check from your Mac or using a dedicated monitoring service that alerts you if a device goes offline.
- Least Privilege Principle: When creating user accounts on your IoT devices for remote access, grant only the necessary permissions. Avoid using the `root` user for daily operations.
- Scheduled Maintenance: Periodically review your remote access setup. Check for firmware updates, rotate passwords (especially if not using SSH keys), and verify that your port forwarding rules are still accurate.
- Test Regularly: Don't wait for an emergency to test your remote access. Periodically connect to your devices from an external network to ensure everything is working as expected.
- Consider a Dedicated IP (if available): If your ISP offers a static public IP address
IoT Remote Desktop Over Internet: Unlocking The Potential

IoT Remote Control: Manage and Access from Anywhere– AirDroid
IoT Devices Remote Task Guide: Stay in Control Anywhere
